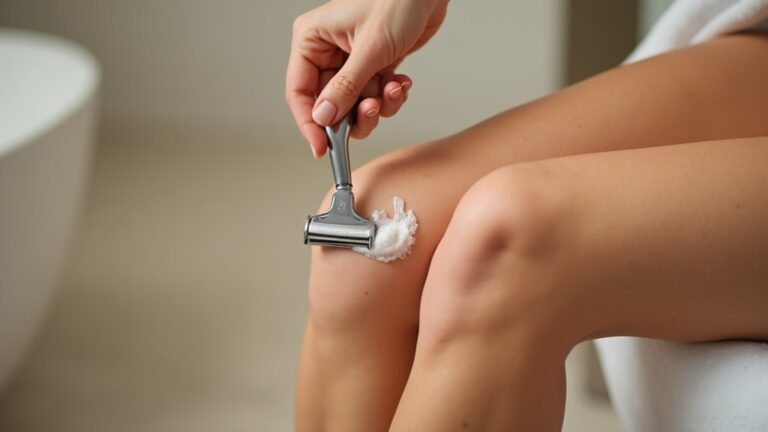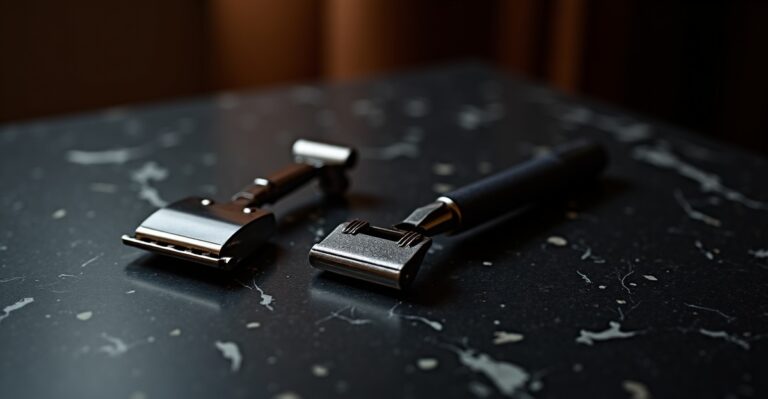
The Art of Lathering: How to Build the Perfect Shaving Lather
You can have the best safety razor on the market, the finest shaving soap, and a brush that cost more than your first car — and you’ll still get a mediocre shave if your lather is wrong.
After fifteen years of wet shaving, I’m convinced that lather quality is the single most underrated element of a great shave. I’m James, and I’m going to walk you through exactly how to build the kind of lather that makes blade-on-skin feel effortless.
Bowl vs. Face Lathering: The Great Debate
The first decision you’ll make is where to build your lather: in a bowl, or directly on your face. Both work. Both have advocates. Here’s the honest comparison:
Bowl Lathering
You load the brush from the puck, then transfer to a bowl and work the lather there before applying to your face. The advantage: you have total control over the lather consistency before it touches your skin. You can see it, feel it, and adjust the water ratio before committing. Mistakes are easy to correct — add a drop of water, swirl more, and keep going.
Bowl lathering is the approach I recommend to beginners because it separates the variables. You’re not simultaneously figuring out your brush loading, water ratio, and face application all at once.
Face Lathering
You load the brush and work the lather directly on your face, using circular and painting strokes to build it in place. The advantage: your skin’s warmth and natural moisture help build a particularly stable, connected lather. Many experienced shavers argue that face lathering produces superior cushioning because the lather is built in contact with the hair it needs to lubricate.
It’s a harder technique to master — you need to read the lather by feel while it’s on your face, which is a more advanced skill. But it’s faster, uses less soap, and once you have it dialed in, many shavers find it superior to bowl lathering.
My recommendation: Start with bowl lathering. Move to face lathering once you understand what good lather looks and feels like.
The Biggest Mistake: Getting the Water Ratio Wrong
If your lather is failing, water ratio is almost always why.
Too dry: Dense, stiff, almost paste-like. It sits in stiff peaks rather than flowing. It doesn’t spread on the face without dragging. Under the razor, it provides poor cushioning — you’ll feel every blade stroke much more than you should. The fix: add water, one drop at a time, working it in with the brush.
Too wet: Thin, bubbly, almost soapy in consistency. You can see through it. It runs off the face before you’re done applying. Under the razor, it provides no cushioning and offers no slip — the blade drags instead of gliding. The fix: load more soap onto the brush and work it in without adding more water.
Just right: Thick, glossy, and cohesive. It holds its shape but isn’t stiff — it flows a little when you tilt the bowl. It’s like full-fat yogurt in texture, or just-whipped cream before it becomes butter. Applied to the face, it holds peaks but settles smoothly. Under the razor, you feel almost nothing — just the blade gliding through the whiskers.
The margin between too dry and too wet is narrower than you’d expect, and it varies by soap formula. Hard soaps (puck format) typically need more water work than soft croaps. Some soaps are water hogs; others lather with relatively little water. You’ll develop a feel for each product you use regularly.
Brush Types: Boar, Badger, and Synthetic
The brush you use affects how you build lather, how much water it holds, and how the lather feels on your face.
Boar Brushes
Boar hair is stiffer and more exfoliating than badger. Boar brushes are excellent at face lathering because the stiffer tips stand beard hairs up and work the lather into the whiskers aggressively. They’re typically less expensive than badger and last well if maintained properly.
Downside: boar brushes break in over time — they start stiff and soften with use. A brand new boar brush is noticeably stiffer than one that’s been used for a few months. Some people find them scratchy initially.
Badger Brushes
Badger hair is softer and more water-absorbent than boar. Badger brushes hold more water and release it more gradually into the lather, making them forgiving of technique. They’re excellent for bowl lathering. The higher grades (silvertip) are incredibly soft and luxurious on the face.
Downside: more expensive (good badger brushes run $40–$150+), and there are animal welfare considerations worth being aware of.
Synthetic Brushes
Modern synthetic shaving brushes have become remarkably good. They don’t absorb water like badger (they release it all quickly), which means they’re slightly more efficient with soap — you can build a good lather faster. They’re also cruelty-free, don’t require the same break-in as boar, and dry quickly. Many experienced shavers, myself included, now use synthetics as their daily driver.
A quality synthetic shaving brush is my recommendation for most beginners: good performance, ethical, reasonable price, no break-in required.
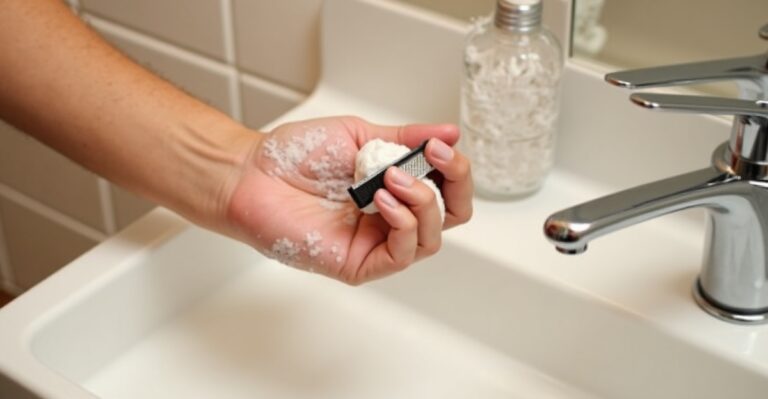
Loading the Brush
Loading is how much soap you pick up from the puck. It’s the step most beginners rush, and insufficient loading is the second most common reason for bad lather (after water ratio).
With a hard puck soap:
- Soak your brush in warm (not hot) water for 30–60 seconds, then shake out the excess
- Work the brush tips on the surface of the soap using small circular motions
- Apply medium pressure — you should see the brush tips splay slightly
- Load for 30–45 seconds. This feels like a long time. It’s correct.
- The soap on the brush tips should look like toothpaste — dense and creamy
Most beginners load for 10–15 seconds and wonder why they can’t build lather. They’re just not starting with enough soap. Load more than you think you need. You can always use less next time, but you can’t add soap once the lather is built.
A shaving bowl with a lid or rim that holds the soap puck is useful both for loading and for keeping the soap tidy between uses. Some shavers use a separate bowl from the soap vessel — loading from the puck and lathering in a dedicated bowl. Either approach works.
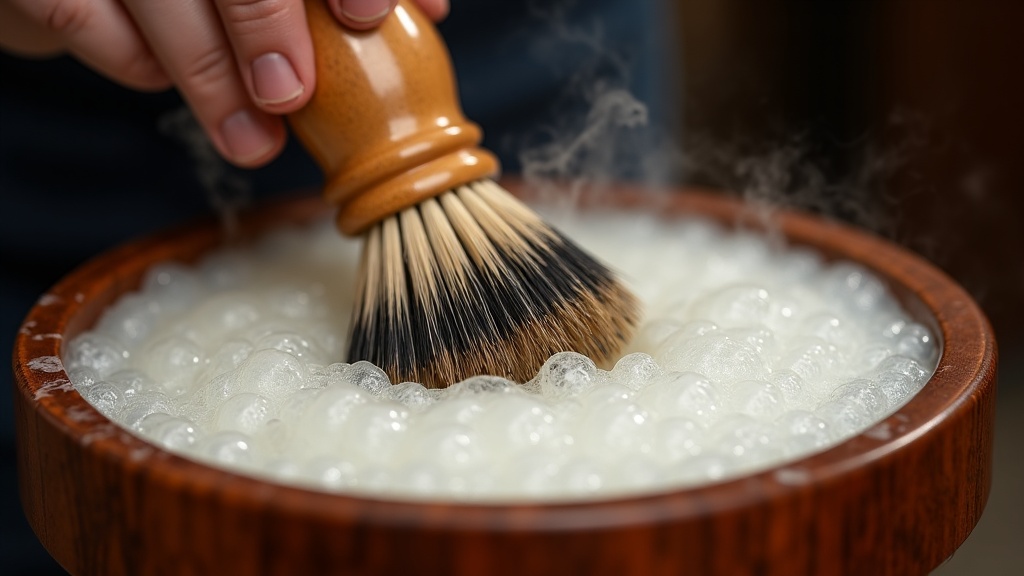
Building the Lather Step by Step
Bowl Method
- Load the brush as described above
- Transfer brush to your lathering bowl
- Work the brush in circular motions, adding water one or two drops at a time if the mixture is too stiff
- The lather will start foamy and thin — keep working it. After 60–90 seconds of vigorous swirling, it should develop body and gloss
- Test consistency: the lather should form soft peaks, have a glossy sheen, and feel slick between your fingers
- Apply to face in circular motions, then finish with painting strokes to ensure full coverage and whisker lift
Face Method
- Load the brush heavily
- Apply to a wet face in circular motions with light-to-medium pressure
- Work the brush across your stubble rather than just over it — you want the lather worked into the whiskers
- If the lather starts thin and bubbly, keep working without adding water — let the loaded brush’s soap develop
- Add small amounts of water only if the lather remains stiff after extended working
A reliable soap like Proraso shaving soap is excellent for learning lather technique because it’s consistent and fairly easy to work with — not too greedy for water, not too sensitive to over-loading. The eucalyptus and menthol formula also opens pores and prepares the beard well for shaving.
Troubleshooting: Too Dry or Too Wet
Lather Is Too Dry / Stiff
Signs: stiff peaks, no flow, difficult to spread, matte appearance rather than glossy, feels sticky rather than slick.
Fix: dip your fingertip in water and add it to the brush or bowl — literally one drop at a time. Work it in thoroughly before adding more. Repeat until the lather loosens and develops gloss. Don’t add a teaspoon of water at once; you’ll overshoot and end up with a watery mess.
Lather Is Too Wet / Watery
Signs: bubbles you can see through, thin consistency, runs off the face, looks like foam rather than cream, no cushioning feel on the skin.
Fix: load more soap onto the brush directly from the puck (without rinsing) and work it into the wet lather. This absorbs the excess moisture and builds body. Alternatively, if you’re beyond saving, rinse the brush, reload more heavily, and start again — it takes only 90 seconds and gives you better results than fighting thin lather.
Final Thoughts
Good lather is a skill. Like any skill, it gets easier fast — most people figure out their personal water ratio within 2–3 weeks of daily shaving. But those first few weeks are important. Pay attention to what the lather looks and feels like. Note what you did when it came out well. Adjust systematically rather than randomly.
When you build a lather that’s truly right — thick, glossy, slick, fragrant — and you glide a sharp blade through it cleanly, you’ll understand why wet shaving enthusiasts are so enthusiastic. It’s not just a functional routine. It’s a daily craft. And lather is where the craft lives.