How to Shave Your Legs with a Safety Razor: Technique Guide for Beginners
Safety razors have been changing the shaving game for women who are tired of the cartridge replacement hamster wheel. But switching from a Venus to a double-edge razor is not as simple as swapping handles — the technique is genuinely different, and if nobody walks you through it, you will either nick yourself or give up after one rough shave.
I have been wet shaving for fifteen years, and I have spent the last couple of years specifically studying how the technique shifts when you move from face to legs. If you have already picked out your razor — or if you are still deciding — our guide on the best safety razors for women covers the hardware side in detail. This guide is about what you do once it is in your hand.
Why Leg Shaving with a Safety Razor Is Different
The principles are the same as face shaving: correct angle, zero pressure, proper prep. But legs introduce three complications that do not exist on a cheek or jaw.
First, the surface area is enormous. Shaving your legs takes four to five times longer than shaving your face, which means fatigue is real. A rushed stroke late in the process is where most nicks happen.
Second, the contours are unpredictable. Your shins are relatively flat. Your knees are a collection of awkward angles. Your ankles are a minefield of bony protrusions. Each zone needs slightly different handling.
Third, you cannot see every angle the way you can in a bathroom mirror. You are working by feel as much as by sight. This is actually fine once you have the right habits — but it does mean you should not try to rush the learning process.
The payoff is real: one pass with a sharp safety razor blade cuts cleanly at the skin surface. Cartridge razors lift and cut, then drag four more blades across freshly shaved skin, causing the irritation, ingrown hairs, and razor burn that most women consider a normal side effect of shaving. They are not normal. They are a side effect of poor blade design.
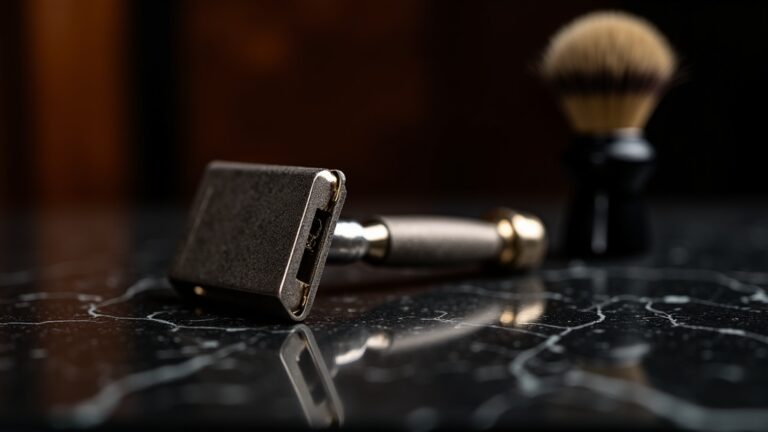
What You Need Before Your First Shave
You do not need much. Here is what actually matters.
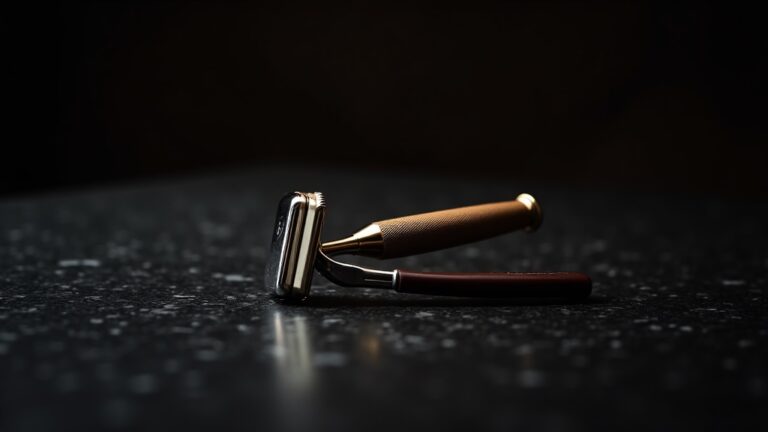
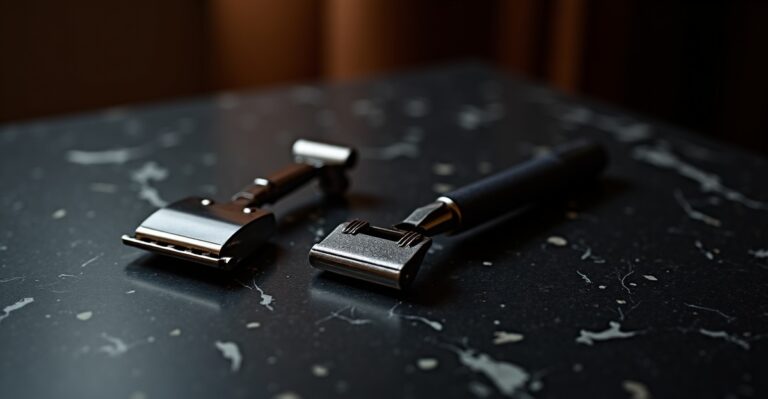
A safety razor with a long handle. For face shaving, short handles are common and practical. For legs, you want at least 85-100mm of handle length to give you reach and control without contorting your wrist. Most razors designed for women’s body shaving hit this range.
A sharp blade. This is not optional. A dull blade drags, requires pressure, and causes irritation. Fresh blades are not expensive — replace yours every five to eight shaves. For most beginners, I recommend starting with Astra Superior Platinum blades — they are sharp, smooth, and very consistent across batches. Buy a 100-pack; at this price, you will never hesitate to change blades.
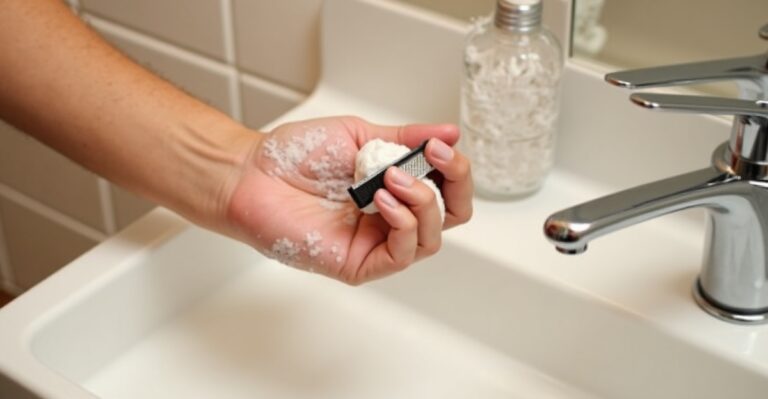
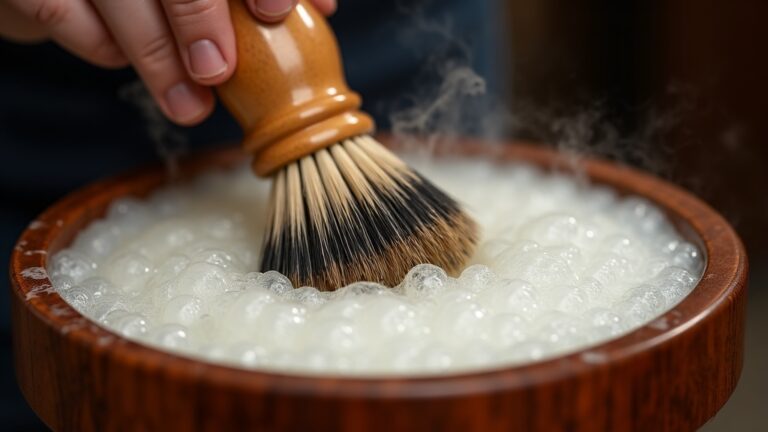
A quality shave cream or gel. Skip foam. Canned shaving foam is designed for cartridge razors and has almost no lubrication. You need something with slip — a glycerin-based shave cream or gel that lets the blade glide without friction. I have used EOS shave cream and a range of traditional shaving creams on legs with excellent results. The key is actual lubrication, not just moisture.
A moisturizer for after. Post-shave skin needs hydration. Have it ready before you start.
A blade disposal bank. A blade disposal bank is a sealed metal container with a slot for used blades. Never drop loose blades in the trash — they can cut through bags and injure people. A disposal bank costs about five dollars and lasts years.
Prep: The Step Most Beginners Skip
Preparation is at least 40 percent of the result. Dry or inadequately prepped skin shaves badly with any razor, but it is especially punishing with a safety razor where technique mistakes matter more.
Shower first. A warm shower softens the hair shaft significantly — hydrated hair requires substantially less force to cut, which means the blade glides instead of dragging. Five minutes in a warm shower is enough. If you are bath-shaving, soak for a few minutes before starting.
Apply your shave cream generously to wet skin. Do not let it dry before shaving. The cream should be slick and wet against your leg throughout each stroke. If it starts to dry, add water or reapply.
Do not use a dry-shave approach even when you are in a hurry. Running a safety razor over dry or poorly lubricated skin is asking for irritation, regardless of how good your technique is.
The Core Technique: Angle, Pressure, Direction
These three elements determine 90 percent of your results. Get them right and the rest follows naturally.
Angle
Hold the razor at roughly 30 to 40 degrees from your skin. A practical way to find this: lay the razor flat against your shin so the handle is almost parallel to your leg, then slowly tilt the handle away from your body until you feel the blade edge just contact the surface. That is your starting angle.
Too steep (handle nearly perpendicular to skin) and the blade bites and causes nicks. Too shallow (almost flat) and nothing happens — the razor glides without cutting. The 30-40 degree range is where you get a clean, efficient stroke.
You will need to adjust this angle slightly as you move from flat zones (shin) to curved ones (ankle, knee). The goal is always to keep that same blade-to-skin relationship, which means your wrist needs to flex as the surface changes.
Pressure
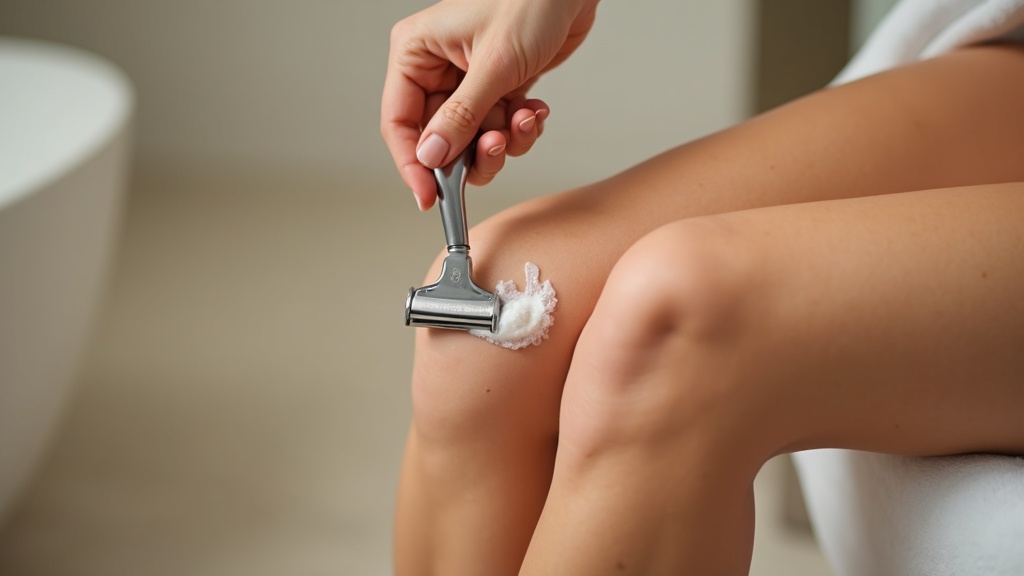
This is the single most important thing to internalize: use no pressure. Rest the razor against your skin and let the weight of the handle do the work. The whole point of a heavier handle is that gravity and mass provide consistent, appropriate pressure without you having to think about it.
Pressing down is the number one cause of cuts and irritation for beginners. If you are applying pressure, you are doing it wrong. Hold the razor like you would hold something you do not want to drop — loosely, with just enough grip to maintain control.
Coming from cartridge razors, this will feel wrong for the first few shaves. Cartridge razors are designed to be pressed into the skin. The muscle memory runs deep. Be patient with yourself and consciously relax your grip every time you feel yourself tensing up.
Direction
Always start by shaving with the grain — the direction your leg hair grows, which for most people is downward. A single pass with the grain removes the bulk of the hair and gets you most of the way to a smooth result with minimal irritation.
Once you are comfortable with the basic technique, you can add a second pass against the grain for a closer result. Do not do this in week one. Learn the feel of a proper with-grain stroke first, relather, then add the against-grain pass. Never do a second pass on dry or unlathered skin.
Zone-by-Zone: Straight Stretches, Knees, and Ankles
Shins and Calves
This is the easy part. Straight strokes, short to medium length, consistent angle. Take your time. Use short overlapping strokes rather than one long sweep. Rinse the blade under warm water every few strokes to clear accumulated cream and hair.
Keep the skin taut with your free hand where possible — this flattens the surface and gives the blade a cleaner path.
Knees
Knees are where beginners cut themselves. The surface changes direction frequently, and it is easy to lose track of your angle mid-stroke.
Bend your knee slightly — not locked, not fully bent, just a soft angle that rounds the surface somewhat. Use very short strokes. One to two inches at a time. Shave in sections around the kneecap rather than trying to sweep across it in one movement. Be especially deliberate about your pressure here — the uneven surface makes it tempting to press harder to get coverage, which is exactly the wrong instinct.
Ankles
Ankles have bony prominences and awkward angles. Point your foot slightly and work around the ankle bone in short strokes, adjusting your wrist as the surface curves. Go slow. If a particular spot feels tricky to reach at the right angle, come at it from a different direction rather than forcing the stroke.
The back of the ankle and the Achilles tendon area tend to be trickier because the skin is thin there. Extra care is worth it.
The Bikini Area: Approach with Care
A safety razor can absolutely be used on the bikini area, and many women find it dramatically reduces ingrown hairs compared to cartridge razors. The coarse hair in this zone responds well to a single sharp blade cutting cleanly at the surface rather than multiple blades pulling and cutting below skin level.
Use a mild razor. Shave with the grain only until you have the technique dialed in. This area has sensitive skin and the hair growth direction varies — take a moment to identify which direction hair grows before starting. Short strokes, frequent rinsing, and extra lubrication. Never rush this zone.
Post-Shave: Do Not Skip This
Rinse with cool water. The cold reduces any inflammation and helps close pores that opened during the shave. Pat dry — do not rub.
Moisturize immediately, while your skin is still slightly damp. This locks in hydration. Use whatever your skin responds well to — an unscented body lotion, aloe vera gel, or a dedicated post-shave balm. For more on post-shave care options, our guide to aftershaves and post-shave balms covers the full range of options, including alcohol-free formulas that work well for sensitive skin.
If you notice any areas of mild irritation, a small amount of pure aloe vera gel is one of the most effective calming treatments available. Keep it in the fridge for an extra soothing effect.
Common Mistakes and How to Fix Them
Pressing too hard. The most common beginner error. If you are getting razor burn in a consistent area, pressure is almost certainly the cause. Relax your grip and let the razor float.
Wrong angle. If the razor is dragging without cutting, your angle is too shallow. If you are getting nicks, your angle is too steep. Adjust slightly and test on a less sensitive area like your shin before moving to knees or ankles.
Dull blade. If the razor is pulling instead of gliding, change the blade. A blade that felt fine two shaves ago may have dulled enough to cause problems. Shaving legs covers far more surface area than a face shave and dulls blades faster. Change more frequently than you think you need to.
Rushing curves. Short strokes around knees and ankles are non-negotiable, especially while you are learning. The reflex to sweep across a large area in one stroke is fine on a flat shin, but it will cause problems on curved surfaces.
Skipping prep. Five minutes of proper prep — shower plus shave cream — is not optional. It is the difference between a comfortable shave and an irritated one.
Frequently Asked Questions
How often should I change my blade? For legs, every five to eight shaves is a reasonable guideline. Leg shaving covers much more area than a face shave, so blades dull faster. When the razor starts pulling instead of gliding, change the blade immediately regardless of how many shaves you have had.
Can I use my facial safety razor on my legs? Yes, as long as it has a long enough handle (85mm or more) to give you adequate reach and control. The technique principles are the same. A short-handled face razor will feel awkward and give you less control over a large area like your legs.
Why am I getting razor bumps? Razor bumps most commonly result from shaving against the grain before your skin has adapted, using too much pressure, or shaving over skin that was not adequately prepped. Stick with with-grain shaving only for your first few sessions, use zero pressure, and shower before shaving. This eliminates razor bumps for most people.
How is a safety razor different from a cartridge razor for legs? A safety razor uses a single, very sharp blade that cuts cleanly at the skin surface. Cartridge razors use multiple blades stacked together, which lifts and cuts hair below the skin surface — this is why they cause more ingrown hairs and irritation. The technique difference is that safety razors require you to control the angle and apply zero pressure, rather than pressing and dragging the way you would with a cartridge razor.
What shave cream works best? Any product with good slip and lubrication works well. Look for glycerin-based creams or gels rather than foaming products. If you want to go deeper on shaving products, our guide to shaving soaps and creams covers a wide range, including options that work just as well on legs as on faces.
Your First Month: What to Expect
Week one will feel tentative. That is normal. You are learning a new physical skill and unlearning deeply ingrained habits from years of cartridge use. Your first shave might not be dramatically better than what you are used to. Stick with it.
By week two, the angle and pressure start to feel more natural. You are not consciously thinking about every stroke. The shave quality starts to noticeably improve.
By week three or four, most people are getting consistently smooth results with minimal irritation. The ingrown hair reduction is often noticeable by this point. You are also spending less per blade than you have ever spent in your life.
The switch to a safety razor for legs is one of those rare upgrades that is simultaneously cheaper, more effective, and better for the environment. The learning curve is real, but it is measured in days — not weeks.
If you have not yet settled on a razor, start with something specifically designed for the job. The complete beginner’s guide to safety razor use covers the foundational technique principles in more depth if you want to go further into the mechanics before your first shave.
Take your time, use zero pressure, and trust the blade.
— James, ClassicBlade.com