How to Use a Safety Razor: Beginner’s Complete Guide
Affiliate Disclosure: This article contains affiliate links. If you purchase through these links, I may earn a small commission at no extra cost to you. I only recommend products I personally believe in.
How to Use a Safety Razor: Beginner’s Complete Guide
After thirty years behind the barber’s chair and well over 50,000 shaves — on my own face and on clients — I can tell you that the single biggest upgrade most men can make to their morning routine is learning how to use a safety razor. The first time I put one in the hands of a nervous beginner, I’d tell them the same thing I’ll tell you: this isn’t complicated. It’s just different from what you’re used to.
Most guys come to me after years of fighting cartridge razors — spending $5 a blade, dealing with razor burn, ingrown hairs, irritation. And then they pick up a double-edge safety razor and wonder why no one told them sooner. This guide covers everything: loading the blade, finding the right angle, shaving difficult zones, and the post-shave routine that protects your skin. Let’s get into it.
What You Need Before You Start: The Beginner’s Kit
You don’t need much — but you do need the right things. Here’s what I recommend for anyone just starting out:
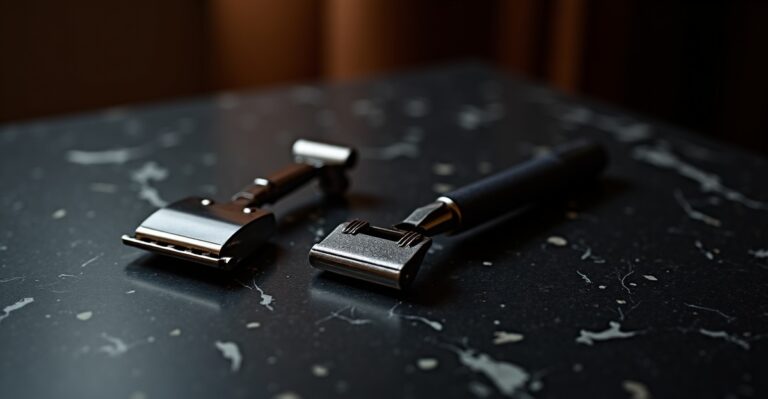
- A beginner-friendly razor: The Merkur 34C Heavy Duty Safety Razor is the gold standard for beginners. Short handle, solid weight, mild blade gap — it’s forgiving while you learn. The Vikings Blade The Chieftain is another excellent option with a butterfly-opening head that makes blade loading a breeze.
- Mild, beginner blades: Start with Derby Extra blades or Astra Superior Platinum blades. Both are smooth, forgiving, and widely recommended for first-timers. Avoid Feather blades until you have at least a few months of experience — they’re razor-sharp and unforgiving on new technique.
- A quality shaving soap or cream: Proraso Shaving Cream and Taylor of Old Bond Street Sandalwood are both excellent. Proper lather is your #1 defense against cuts and irritation.
- A shaving brush: A synthetic brush works perfectly for beginners — no break-in period, ready to use right out of the box.
- An alum block: This is the secret weapon most guides skip. More on this later.
How to Load a Safety Razor Blade
I’ve seen more beginners confused by this step than any other. Here’s the thing — it’s dead simple once you understand the razor’s design.
Three-Piece Razors (like the Merkur 34C)
- Unscrew the handle from the head. The head will separate into a top cap and a base plate.
- Pick up the blade by its short sides (not the sharp long edges) — or use the paper wrapper as a grip.
- Lay the blade flat on the base plate’s pins.
- Place the top cap over the blade and screw the handle back on until finger-tight. Never overtighten — you’ll warp the blade alignment.
Butterfly/Twist-to-Open Razors (like Vikings Blade Chieftain)
- Twist the bottom of the handle counterclockwise to open the head doors.
- Drop the blade in flat, centering it on the post.
- Twist the handle back clockwise to close.
Pro tip from the shop: After loading, hold the razor up to a light and check that equal amounts of blade are visible on both sides of the head. Uneven loading is a common cause of cuts on one side.
How to Use a Safety Razor: Step-by-Step Technique
This is the heart of it. Follow these steps and you’ll get a great shave from day one.
Step 1: Prepare Your Skin (Don’t Skip This)
Most guides mention this briefly. I’ll say it emphatically: prep is 40% of your shave. Wash your face with warm water for at least 60 seconds, or shave right after a hot shower. The goal is to hydrate the hair shaft — a wet hair is significantly easier to cut than a dry one. I used to tell my barbershop clients to hold a warm wet towel on their face for 60 seconds before I started. That simple step prevented more nicks than any technique adjustment.
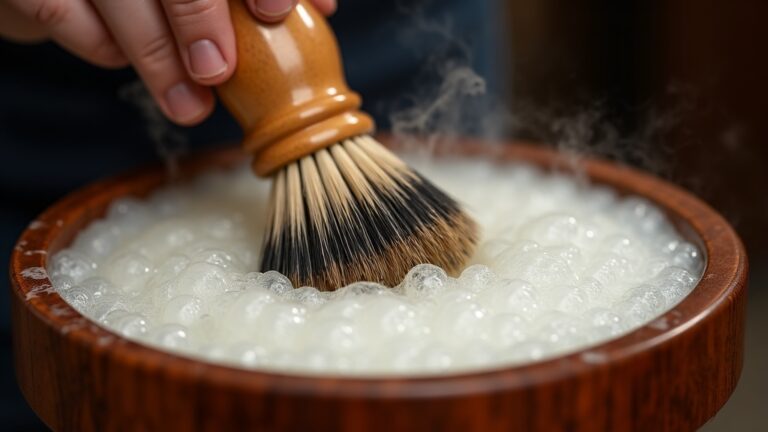
Step 2: Build Your Lather
Load your brush from the soap puck or cream, then work up a lather on your face in circular motions. You want yogurt-like consistency — thick, glossy, and slick. Too thin and the blade drags; too thick and it clogs. Apply to cheeks, neck, jawline, upper lip, and chin.
Step 3: Find the 30-Degree Angle
This is where most beginners go wrong — and where the safety razor differs most from a cartridge razor.
Start with the razor head flat against your cheek (top cap touching skin, handle pointing straight out to the side — roughly 90 degrees from your face). Now slowly rotate the handle downward toward your jawline. When you reach about 30 degrees off the skin surface, you’ll feel the blade just make contact. That’s your zone.
Unlike a cartridge razor, the safety razor doesn’t pivot to find this angle for you. You have to maintain it throughout the stroke. It becomes instinctive within a week.
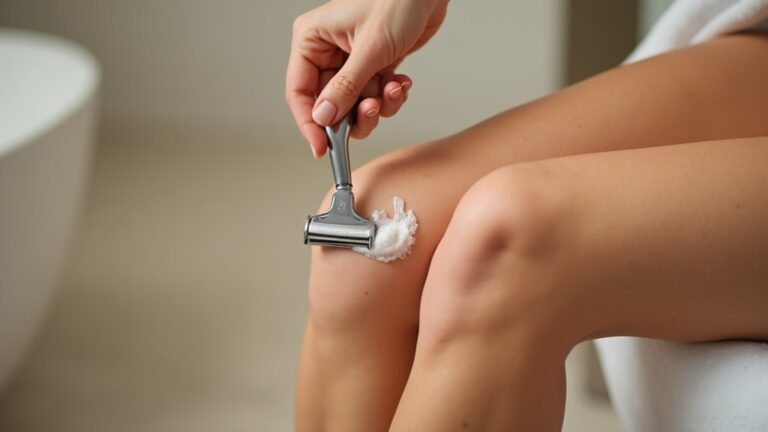
Step 4: Use Zero Pressure
This is the hardest habit to break if you’re coming from cartridges. Let the weight of the razor do the work. Most safety razors weigh 2–4 ounces — that’s all the pressure you need. The moment you start pushing down, you’re inviting cuts and razor burn. Hold the handle loosely near the end. Glide, don’t press.
Step 5: Shave With the Grain (First Pass)
Map your beard grain before you start — it runs in different directions on different parts of your face. On most men:
- Cheeks: downward (toward jaw)
- Neck: often upward toward chin, or variable — check with your hand
- Upper lip: downward
- Chin: downward
Use short, overlapping strokes — about 1–2 inches at a time. Rinse the razor head after every 2–3 strokes to clear lather and stubble. The blade has two edges; flip the razor when one side clogs instead of running it under water every stroke.
Step 6: The J-Hook for Under Your Nose
This is a technique I’ve almost never seen covered in beginner guides, and it’s the zone where new shavers cut themselves most. To get under the nose, don’t press the razor straight up — you’ll catch the tip of your nose.
Instead: stretch your upper lip down over your teeth. Position the razor with the handle pointing down and to the side (almost horizontal), then draw it across the philtrum in a slight J-shaped arc, following the curve of your lip. Go slowly. Two small strokes beat one ambitious one.
Step 7: Re-Lather for Passes Two and Three (Optional)
A single with-the-grain pass will get you a perfectly respectable shave. For a closer result:
- Second pass: Re-lather and shave across the grain (perpendicular to the first pass)
- Third pass: Re-lather and shave against the grain — only recommended once you’ve mastered your angle and pressure
Don’t chase BBS (Baby Bottom Smooth) on your first few shaves. One good pass beats three sloppy ones.
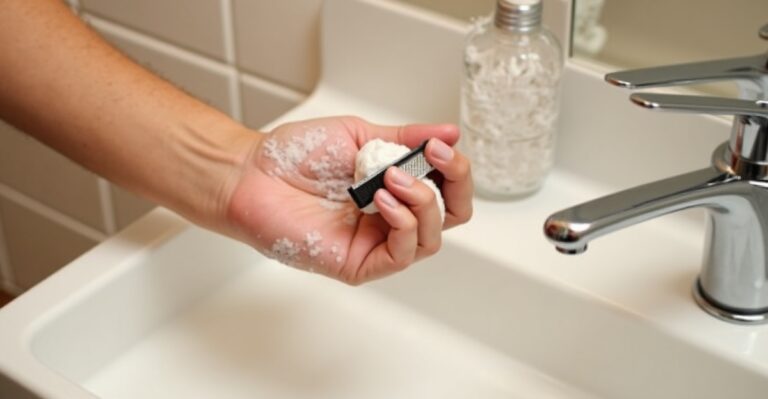
Step 8: Rinse and Use the Alum Block
Rinse your face with cool water. Then wet your alum block and rub it over your entire shaved area. The alum will sting on any spots where you had friction — this is your diagnostic tool. Where it stings is where your angle or pressure was off. It also stops minor weepers immediately.
Leave the alum on for 30 seconds, then rinse off. Follow with an aftershave balm (not alcohol splash on irritated skin) to moisturize and protect.
How Often Should You Change Your Blade?
Most safety razor blades last 3–7 shaves depending on your beard thickness and how many passes you do. The signs it’s time to change:
- Tugging or pulling instead of gliding
- Increased razor burn or irritation
- You have to apply more pressure to get the same result
At pennies per blade, there’s no reason to push a blade past its useful life. I always say: if you’re questioning whether the blade is still sharp, it isn’t.
Common Beginner Mistakes (And How to Avoid Them)
- Applying pressure: The #1 mistake. Let gravity work.
- Steep angle: Too perpendicular to the face and you’re scraping with the blade edge, not slicing hair.
- Skipping lather: Dry or inadequately lubricated skin turns a safety razor into a weapon.
- Using too aggressive a blade too soon: Start with Derby or Astra. Don’t buy Feathers because someone on Reddit loves them — most of those people have years of practice.
- Multi-pass without re-lathering: Every pass needs fresh lather. Going over dry, post-lather skin is a recipe for raw, red skin.
- Rushing the neck: The neck has the most variable grain direction and thinest skin. Go slowly, use two short strokes instead of one long one.
Is There a Learning Curve?
Yes — and I’ll be honest with you about that. Most beginners get a few small nicks in the first week. Not because the razor is dangerous, but because you’re unlearning years of cartridge muscle memory. The transition typically takes 2–4 weeks before it feels natural and another 4–8 weeks before you’re consistently getting better shaves than you ever got from a cartridge.
The payoff is real: once you’ve got the technique, you’ll get better, closer, more comfortable shaves — for pennies per blade instead of dollars. It’s a skill worth developing.
Frequently Asked Questions
What angle should I hold a safety razor?
Approximately 30 degrees off the skin surface. Start with the head flat to the face and rotate the handle down until the blade just makes contact. That’s the zone. Maintain it throughout your stroke.
How do I avoid cutting myself with a safety razor?
Three things: (1) zero downward pressure — let the weight of the razor do the work; (2) maintain the 30-degree angle consistently; (3) use a quality lather and shave with (not against) the grain on your first pass. The alum block after each shave will tell you exactly where your technique needs improvement.
What’s the best safety razor for beginners?
The Merkur 34C is the most recommended beginner razor in the wet shaving community for good reason: it’s mild, well-balanced, and durable. If you want something slightly easier to load, the Vikings Blade Chieftain with its butterfly head is a great alternative.
How many passes should a beginner do?
Start with just one pass — with the grain. Get that dialed in before adding a second pass across the grain. Most beginners are surprised how much the first pass alone improves their shave quality compared to cartridge razors.
Can I use a safety razor on sensitive skin?
Absolutely — and it may actually help. Multi-blade cartridge razors pass the same blade over a spot 4–5 times in one stroke, which is a major source of irritation. A single-blade safety razor makes one clean cut per hair. Many men with sensitive skin or razor bumps (pseudofolliculitis barbae) find significant improvement switching to a DE razor. Use a mild blade, quality lather, and the with-grain-only technique until your skin adjusts.
The Verdict: Is a Safety Razor Worth It?
In thirty years of barbering, I’ve never met someone who learned to use a safety razor properly and went back to cartridges. The combination of cost savings (blades at pennies each vs. $4–5 per cartridge), skin quality improvement, and the genuine enjoyment of the ritual makes it one of the best grooming decisions a man can make.
The learning curve is real but short. Give it three weeks of consistent practice. Follow the technique in this guide — especially the angle, zero pressure, and J-hook for under the nose. Use the alum block as your feedback tool. And start with a mild blade and a quality soap.
You’ve got everything you need. Time to get started.
Ready to Start? Recommended Gear
- 🪒 Merkur 34C Heavy Duty Safety Razor — Best beginner razor overall
- 🪒 Vikings Blade The Chieftain Safety Razor — Best for easy blade loading
- 🔪 Derby Extra Blades (100-pack) — Best beginner blades
- 🔪 Astra Superior Platinum Blades (100-pack) — Smooth, mild, excellent value
- 🧴 Proraso Shaving Cream — Classic Italian formula, excellent slip
- 🧴 Taylor of Old Bond Street Sandalwood Shaving Cream — Premium British cream