The Complete Beginner’s Guide to Wet Shaving in 2026
The Complete Beginner’s Guide to Wet Shaving in 2026
I’ve been wet shaving for 22 years, and I can tell you this: switching from disposable cartridges to a proper safety razor is one of the best decisions you’ll make for your face and your wallet. After testing over 300 razors and teaching dozens of friends the craft, I’ve learned exactly what beginners need to know to avoid the common pitfalls and get consistently great shaves from day one.
This guide walks you through everything—choosing your first razor, mastering technique, building your shaving kit, and troubleshooting the mistakes that trip up most newcomers. Let’s get you shaving like your grandfather did, with better results than any five-blade gimmick can deliver.
What Is Wet Shaving?
Wet shaving is the traditional method of shaving with a single-blade safety razor or straight razor, using shaving soap or cream that you work into a lather with a brush. Unlike modern cartridge razors that rely on multiple blades and canned foam, wet shaving focuses on proper prep, technique, and quality tools that last decades.
The benefits are real: closer shaves with less irritation, dramatically lower ongoing costs (blades cost pennies instead of dollars), and the satisfaction of mastering a traditional skill. It takes about two weeks to get comfortable, but once you do, you’ll never want to go back.
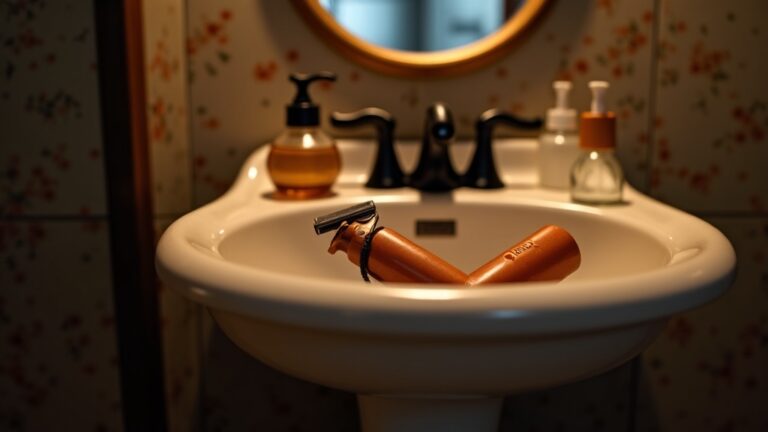
Essential Wet Shaving Equipment for Beginners
You need four core items to start wet shaving. Don’t overthink this—start simple and upgrade later if you want to.
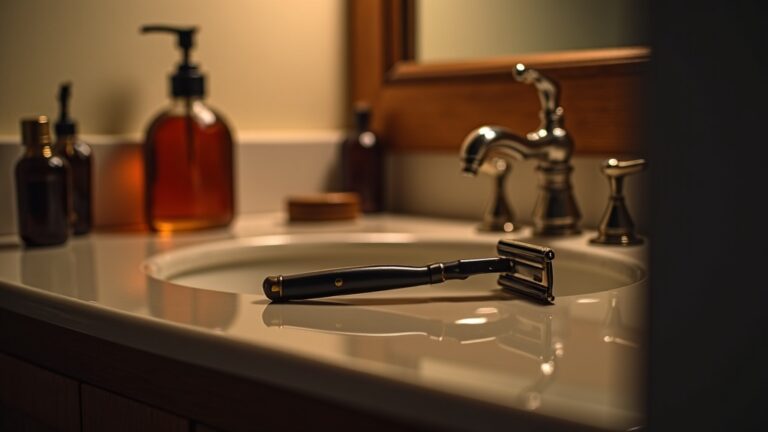
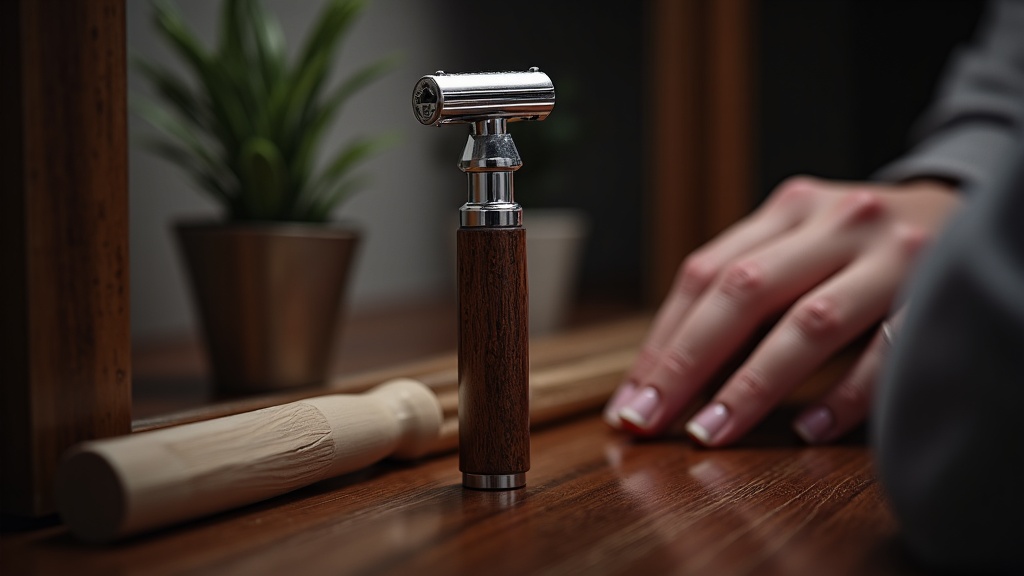
1. Safety Razor
Your first razor should be mild and forgiving. I recommend a three-piece design with a closed comb head. The Edwin Jagger DE89 is the gold standard for beginners—excellent build quality, perfect weight balance, and a forgiving blade angle that won’t punish learning mistakes.
Adjustable razors like the Merkur Progress offer versatility, but I suggest mastering a fixed-head razor first. You can always add an adjustable later.
2. Razor Blades
Blades are personal. What works perfectly for me might tug on your face. Buy a blade sampler pack with 8-10 different brands and test them systematically. Common favorites include Feather (extremely sharp), Astra Superior Platinum (smooth and consistent), and Derby Extra (mild and forgiving).
Each blade costs 10-25 cents. You’ll change blades every 5-7 shaves, making this absurdly cheaper than cartridges.
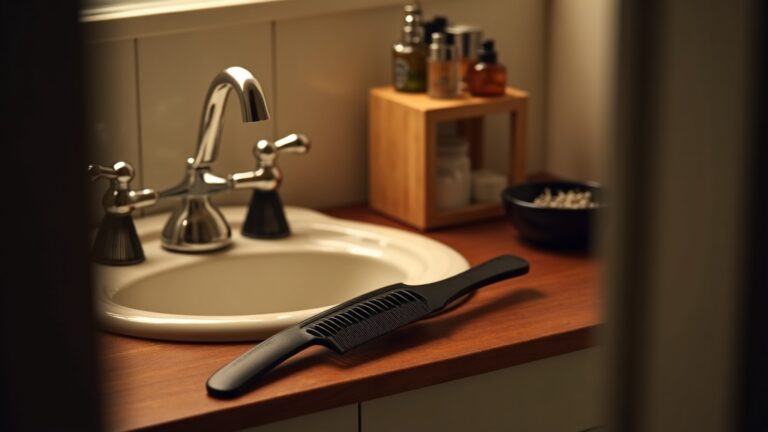
3. Shaving Brush
A brush does three critical things: exfoliates skin, lifts beard hairs away from your face, and creates rich lather from soap or cream. For beginners, I recommend synthetic brushes—they’re affordable, dry quickly, and require zero break-in period.
A good synthetic shaving brush in 24mm knot size handles perfectly and won’t break the bank. Save the badger hair experiments for later.
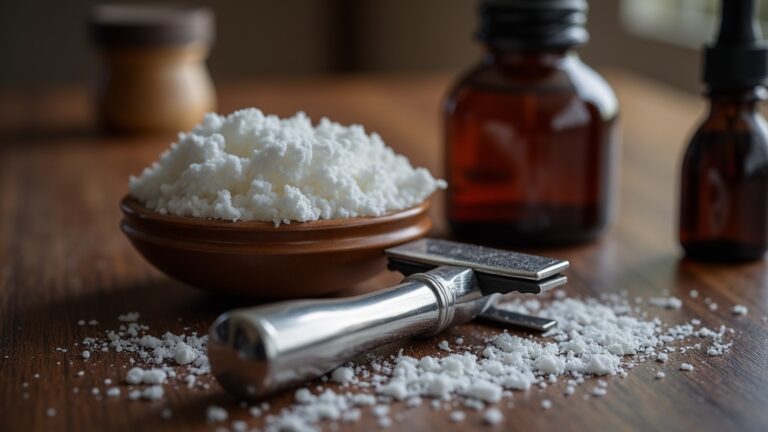
4. Shaving Soap or Cream
Traditional shaving soap creates thick, slick lather that protects your skin far better than canned foam. Start with a quality Proraso shaving soap or Taylor of Old Bond Street cream—both are easy to lather, smell great, and perform consistently.
A single tub lasts 3-6 months with daily shaving. The math is absurd compared to cartridge costs.
Wet Shaving vs. Cartridge Shaving: A Real Comparison
| Factor | Wet Shaving (Safety Razor) | Cartridge Shaving |
|---|---|---|
| Initial Cost | $50-80 (razor, brush, soap, blades) | $15-25 (handle + cartridges) |
| Annual Cost | $15-30 (blades + soap) | $150-250 (cartridge refills) |
| Shave Quality | Closer, smoother (with proper technique) | Adequate, but more tugging |
| Irritation | Less (single blade, better angle) | More (multiple blades create irritation) |
| Learning Curve | 2-3 weeks to feel confident | Immediate |
| Environmental Impact | Minimal (recyclable metal blades) | High (plastic cartridges in landfills) |
| Equipment Lifespan | Decades (often lifetime) | Handle degrades, constant replacement |
The Perfect Wet Shaving Technique: Step by Step
Technique matters more than equipment. Follow these steps exactly for your first month, and you’ll develop muscle memory that delivers consistently great shaves.
Step 1: Prep Your Face
Shave after a hot shower, or apply a hot, damp towel to your face for 30-60 seconds. This softens whiskers and opens pores. Your beard hair absorbs water and becomes up to 70% easier to cut when properly hydrated.
Step 2: Build Your Lather
Wet your brush with warm water, shake out excess, and load it with soap by swirling on the puck for 20-30 seconds. Build lather directly on your face using circular motions, or create it in a bowl if you prefer. You want thick, yogurt-like consistency with no bubbles.
Step 3: First Pass (With the Grain)
Hold the razor at a 30-degree angle to your skin. Use zero pressure—let the weight of the razor do the work. Shave with the direction your hair grows (with the grain). Short, controlled strokes work better than long sweeps. Rinse the razor every few strokes.
This is the cardinal rule most beginners violate: use no pressure. The blade is sharp enough. Your job is guidance, not force.
Step 4: Re-Lather and Second Pass (Across the Grain)
Apply fresh lather. Shave perpendicular to hair growth (across the grain). This gets closer without the irritation risk of going against the grain. Many shavers stop here and get excellent results.
Step 5: Optional Third Pass (Against the Grain)
For baby-smooth results, re-lather and carefully shave against hair growth. Skip this until you’ve been shaving for at least two weeks. Going ATG too early is the fastest route to razor burn.
Step 6: Rinse and Apply Aftershave
Rinse with cold water to close pores. Pat dry—don’t rub. Apply an alcohol-free aftershave balm to soothe and moisturize. Avoid alcohol-based splashes for the first few weeks.
Common Beginner Mistakes (And How to Fix Them)
Using too much pressure: This causes razor burn, nicks, and irritation. The razor’s weight is enough. Grip it lightly and let it glide.
Wrong blade angle: Too steep (riding the top cap) or too shallow (riding the safety bar) won’t cut effectively. Find the middle angle where you hear a gentle cutting sound.
Shaving too fast: Wet shaving is deliberate. Rushing causes mistakes. Budget 10-15 minutes until you develop speed through practice.
Stretching skin incorrectly: Gently pulling skin taut in the opposite direction of your stroke helps, but over-stretching creates uneven surface and increases nick risk.
Not mapping your grain: Spend time understanding how your beard grows. It’s not uniform. Feel your face after 24 hours without shaving—roughest direction is against the grain.
Building Your Skills: The First Month
Week 1: Focus on pressure and angle. Expect a few nicks. Do only one or two passes. Don’t chase perfection.
Week 2: Add a second pass (across the grain). Start experimenting with different blades from your sampler pack.
Week 3: Refine your lather technique. Try face lathering if you’ve been bowl lathering, or vice versa.
Week 4: Attempt a careful against-the-grain pass on easy areas (cheeks first, avoid neck initially). You should be getting consistently good shaves by now.
Frequently Asked Questions
How often should I change razor blades?
Most quality blades deliver 5-7 comfortable shaves before you notice tugging or reduced smoothness. Some shavers get 10+ shaves from premium blades like Feather. Change when you feel the blade isn’t cutting cleanly anymore—there’s no fixed schedule.
Will wet shaving help with sensitive skin and razor burn?
Yes, dramatically. Cartridge razors use multiple blades that each pass over the same skin, creating cumulative irritation. A single sharp blade with proper technique and slick lather reduces irritation by 70-80% for most people. Focus on zero pressure and perfect lather quality.
Can I wet shave my head?
Absolutely. Many head shavers prefer safety razors for the cost savings alone. Use a razor with a larger head for efficiency, maintain excellent lather, and be extra careful around ears and the back of your head until you develop spatial awareness. Consider a multi-angle mirror for those first few weeks.
How long does a typical wet shave take?
Beginners need 15-20 minutes. With practice, you’ll get it down to 8-10 minutes for a three-pass shave, or 5-6 minutes for a quick two-pass shave. It’s slower than cartridges initially, but the ritual becomes meditative rather than tedious.
Do I need a pre-shave oil or other products?
No. Proper hydration, good lather, and correct technique handle everything. Pre-shave oils can help extremely coarse beards or very dry skin, but most shavers don’t need them. Start simple—add complexity only if you identify a specific problem it solves.
Your First Purchase: What to Buy Right Now
If you’re ready to start, here’s my recommended beginner kit:
- Edwin Jagger DE89 safety razor
- Blade sampler pack (50-100 blades, multiple brands)
- Synthetic shaving brush (24mm knot)
- Proraso Green shaving soap
- Quality aftershave balm
Total investment: $60-80. This setup will last you 6+ months (the razor lasts decades), after which you’ll spend maybe $2-3 per month on blades and soap. Compare that to $15-20 monthly for cartridge refills.
Wet shaving isn’t just about saving money or getting better shaves—though you’ll do both. It’s about taking back a small piece of craftsmanship in an increasingly disposable world. My grandfather’s 1959 Gillette Fatboy still shaves perfectly today, and I guarantee the razor you buy this week will outlast any cartridge system by decades.
Start simple, focus on technique over gear, and give yourself permission to learn. Two weeks from now, you’ll understand why millions of men have rediscovered this traditional skill.