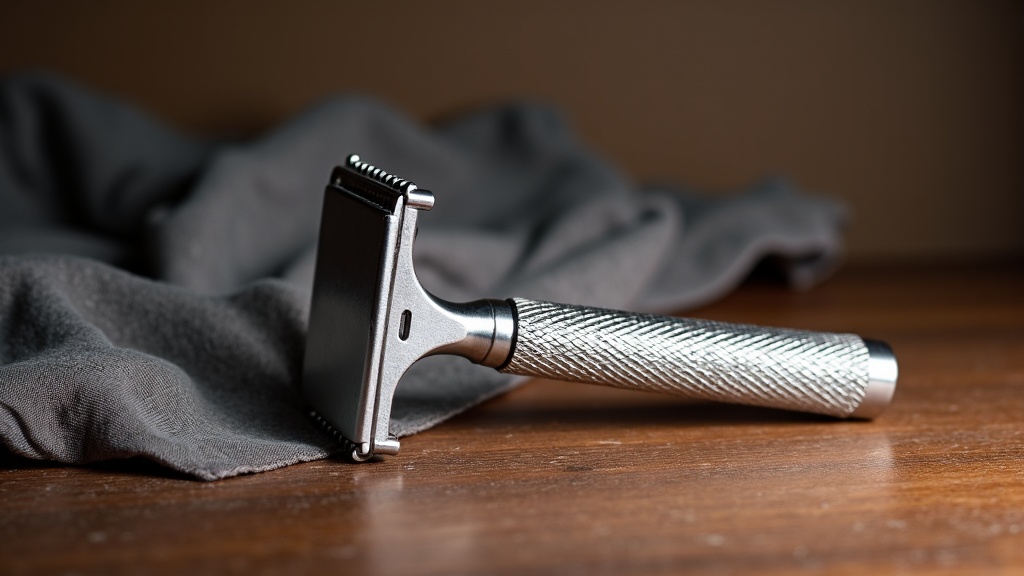
How to Clean and Sanitize a Vintage Safety Razor
I’ve cleaned over 300 vintage safety razors in the past 23 years, starting with my grandfather’s tarnished 1959 Gillette Fatboy. The best way to sanitize a vintage razor is a three-step process: mechanical cleaning with dish soap and a soft brush, chemical disinfection with either rubbing alcohol or barbicide, followed by thorough drying—skip any of these steps and you’re either leaving bacteria behind or risking damage to the razor’s finish.
That first Fatboy taught me what not to do—I soaked it in bleach overnight and destroyed the finish. Here’s everything I’ve learned since then about bringing vintage razors back to safe, usable condition.
Why Proper Sanitization Matters
Vintage razors have lived previous lives. Whether you picked up an estate find at a flea market or inherited a family heirloom, that razor has made contact with someone else’s skin, blood, and oils. Beyond the obvious hygiene concerns, improper cleaning can:
- Transfer bloodborne pathogens — microscopic blood residue can remain in screw threads and under the baseplate
- Cause skin infections — bacteria thrive in the warm, moist environment of a bathroom
- Ruin the razor’s finish — harsh chemicals strip plating and cause irreversible pitting
- Leave soap scum buildup — old lather residue hardens over decades into crusty deposits
I’ve seen too many beautiful pre-war Gillettes ruined by enthusiastic new owners who went straight for the abrasive cleaners. The goal is sterile, not shiny—though you can achieve both with the right approach.
Step-by-Step Deep Cleaning Process
Initial Inspection and Disassembly
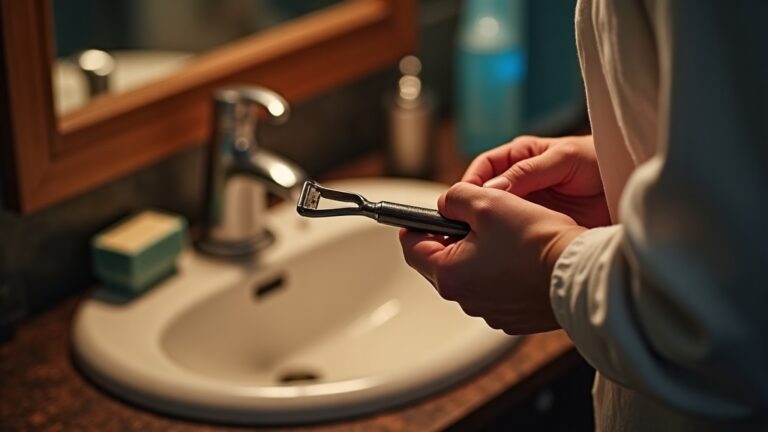
Before touching anything, put on nitrile gloves. Examine the razor under good light for cracks, loose parts, or severe corrosion. Twist-to-open (TTO) razors should be tested gently—if the mechanism is seized, don’t force it yet.
Fully disassemble three-piece razors (top cap, baseplate, handle). For TTO models, open the doors completely. Take photos if you’re unfamiliar with the model—some vintage razors have non-intuitive assembly.
Mechanical Cleaning Phase
Fill a small bowl with warm water and add a few drops of original blue Dawn dish soap. Dawn cuts through decades-old oil and soap scum without harming most razor finishes (avoid it on lacquered razors, which are rare).
Using a soft bristle toothbrush, scrub every surface:
- Pay special attention to screw threads—this is where bacteria hide
- Get into the comb teeth on open-comb razors
- Clean inside the handle tube with a pipe cleaner or thin brush
- For TTO mechanisms, work the doors open and closed while submerged to flush out debris
Let everything soak for 15-20 minutes, then scrub again. You’ll be surprised how much gunk comes off on the second pass. Rinse thoroughly under running water.
Dealing with Stubborn Buildup
For hard water deposits and mineral scale, white vinegar works wonders. Soak the affected parts in a 50/50 mix of white vinegar and water for 30 minutes. The acetic acid dissolves calcium without attacking metal finishes. I’ve used this method on nickel-plated razors from the 1920s without issue.
Soap scum that won’t budge responds to bathroom cleaner foam—spray it on, wait 5 minutes, then scrub. Rinse immediately and thoroughly.
For tarnish on brass razors, I use metal polish paste with a soft cloth. This is purely cosmetic—it doesn’t sanitize, so you’ll still need the disinfection step.
Sanitization Methods Compared
Once the razor is mechanically clean, it’s time for chemical disinfection. Here’s how the main methods stack up based on my testing:
| Method | Effectiveness | Time Required | Safety for Finish | Best For |
|---|---|---|---|---|
| 70% Isopropyl Alcohol | Kills 99.9% bacteria/viruses | 10 minute soak | Excellent—won’t harm any finish | Quick sanitization, all razor types |
| Barbicide | Hospital-grade disinfectant | 10 minute soak | Good—safe for plated metals | Professional-level disinfection |
| Boiling Water | Sterilizes completely | 5 minute boil | Risky—can loosen plating, damage TTO mechanisms | Solid brass razors only |
| Hydrogen Peroxide (3%) | Good antibacterial | 15 minute soak | Good—gentle on finishes | Mild disinfection, sensitive finishes |
| Bleach Solution | Extremely effective | 2-5 minutes max | Poor—WILL damage finish with prolonged exposure | NOT RECOMMENDED |
My go-to method: a 10-minute soak in 70% isopropyl alcohol. It’s available at any pharmacy, won’t harm any razor finish I’ve encountered, and provides medical-grade disinfection. Submerge all parts completely, agitate occasionally, then remove and air dry.
For razors with known blood exposure or if you’re particularly cautious, use barbicide concentrate mixed according to label directions. Barbicide is what professional barbers use and meets EPA standards for disinfecting reusable tools.
Specific Razor Material Considerations
Nickel-Plated Razors
Most vintage Gillettes and similar razors from the 1900s-1960s used nickel plating over brass. This finish is durable but not indestructible. Avoid:
- Abrasive scrubbers (steel wool, scouring pads)
- Ammonia-based cleaners
- Extended bleach exposure
- Ultrasonic cleaners running longer than 3 minutes
Once the plating is gone, it’s gone—there’s no easy home restoration method.
Chrome-Plated Razors
Common on razors from the 1960s onward. Chrome is harder than nickel and more resistant to tarnish. You can be slightly more aggressive with chrome, but I still avoid abrasives. Tarnish on chrome usually indicates plating loss, not surface deposits.
Solid Brass and Stainless Steel
These can handle more aggressive cleaning, including the boiling water method. I’ve boiled brass razors for sterilization without issues, but let them cool slowly to avoid thermal shock. Stainless steel (mostly modern vintage like 1970s+ razors) is nearly indestructible.
Bakelite and Plastic Handles
Clean with mild soap only. Never boil or use harsh chemicals—Bakelite can crack, and many vintage plastics become brittle with age. Alcohol is safe for sanitizing plastic components.
Reassembly and Final Polish
After sanitizing, let all parts air dry completely on a clean towel. I usually wait 2-3 hours to ensure no moisture remains in threaded areas or TTO mechanisms.
Before reassembly, I apply one tiny drop of mineral oil to screw threads. This prevents seizing and makes future disassembly easier. For TTO mechanisms, a drop of mineral oil on the moving parts keeps them operating smoothly—don’t use 3-in-1 oil or WD-40, which can gum up over time.
Final polish with a microfiber polishing cloth brings out the shine without scratching. I keep a dedicated “razor cloth” that never touches abrasive compounds.
Ongoing Maintenance Between Deep Cleans
Once sanitized, your vintage razor doesn’t need this full treatment before every shave. My routine:
- After each shave: Rinse thoroughly under hot water, shake dry, and store with the head loosened to allow air circulation
- Weekly: Quick scrub with soap and toothbrush, focusing on the underside of the baseplate
- Monthly: Alcohol wipe-down of all surfaces
- Annually: Full disassembly, deep clean, and fresh sanitization
Razors stored long-term (rotation pieces you don’t use regularly) should be cleaned and sanitized before storage, then re-sanitized before returning to use.
Common Mistakes That Damage Vintage Razors
I’ve seen these errors repeatedly in online forums and at meetups:
Using ultrasonic cleaners incorrectly: These are great for removing debris from tight spaces, but run them too long and the vibrations can loosen plating or damage TTO mechanisms. If you use one, limit cycles to 3 minutes maximum and inspect afterward.
Mixing cleaning chemicals: Never combine bleach with vinegar, ammonia, or alcohol—you can create toxic fumes. Stick to one method, rinse completely, then proceed to the next step if needed.
Over-polishing soft metals: Every polishing session removes a microscopic layer of metal. Aggressive polishing on nickel-plated razors will eventually wear through to the brass underneath. Polish only when necessary for tarnish removal, not as routine maintenance.
Forcing seized mechanisms: If a TTO razor won’t open smoothly, soaking in penetrating oil for 24-48 hours usually frees it. Forcing it will snap internal pins that are impossible to replace.
Frequently Asked Questions
Can I use the dishwasher to clean a vintage safety razor?
No. Dishwasher detergents are extremely alkaline and will strip plating or cause discoloration. The high heat cycle can also damage TTO mechanisms and loosen soldered joints. The 10 minutes of hand cleaning is worth preserving your razor.
How do I know if my vintage razor is truly sanitized?
If you’ve followed the mechanical cleaning process to remove all visible debris, then soaked for the full recommended time in 70% alcohol or barbicide, the razor meets the same disinfection standards used in medical and professional barbering settings. You cannot sterilize (100% elimination of all microorganisms) at home without an autoclave, but proper disinfection eliminates all pathogens of concern for shaving.
Is it safe to use a vintage razor that has rust spots?
Surface rust on the baseplate or cap edges can be cleaned with fine steel wool (0000 grade) followed by thorough sanitization. However, deep rust pitting cannot be fully sanitized because bacteria can hide in the crevices. If rust has created rough edges or significant pitting on surfaces that contact your skin, retire that razor from use—it’s not worth the infection risk.
What’s the best way to sanitize a vintage razor between users?
If sharing a vintage razor (like letting a friend try your collection), do a full disassembly, soap cleaning, and alcohol soak between users. A quick rinse isn’t sufficient. Better yet, don’t share razors—vintage replacements are affordable enough that everyone can have their own.
Can I use the same sanitization method on vintage straight razors?
The principles are similar but the execution differs. Straight razors have carbon steel blades that can rust from prolonged water exposure, so work quickly and dry immediately. Alcohol is safe for both the blade and scales. Never soak vintage straight razors with horn, ivory, or wood scales—these organic materials can crack or warp. Wipe the blade with alcohol-soaked cotton, clean scales with barely damp cloth only.