how wet shaving for beginners guide
Wet shaving changed my life 23 years ago when I picked up my grandfather’s 1959 Gillette Fatboy—and once you understand the technique, you’ll never go back to disposable cartridges. This guide covers everything you need to start wet shaving properly, from choosing your first razor to mastering the angle that gives you the closest shave without irritation.
What Is Wet Shaving?
Wet shaving is the traditional method of shaving using a safety razor or straight razor, shaving brush, and proper lathering soap or cream. Unlike modern cartridge razors where you just swipe foam and drag plastic across your face, wet shaving involves preparing your skin, building a rich lather, and using precise technique with a sharp blade.
The “wet” part refers to keeping your face thoroughly hydrated throughout the process—not the quick splash-and-go approach most guys use with cartridge razors. This preparation makes all the difference between a comfortable shave and razor burn.
Why Choose Wet Shaving Over Cartridge Razors?
After testing over 300 razors, I can tell you the benefits go beyond just nostalgia:
- Cost savings: A 100-pack of quality double-edge blades costs $10-20 and lasts a year. Cartridge refills run $3-5 per cartridge.
- Better shaves: Single sharp blades cut cleaner than multi-blade cartridges that tug and create irritation.
- Less irritation: Proper technique and sharp blades mean fewer passes and less skin trauma.
- Environmental impact: Recyclable steel blades versus plastic cartridges filling landfills.
- Enjoyment: It becomes a morning ritual instead of a chore.
The learning curve is real—expect 2-3 weeks to get comfortable—but once you dial it in, you’ll wonder why you ever used cartridges.
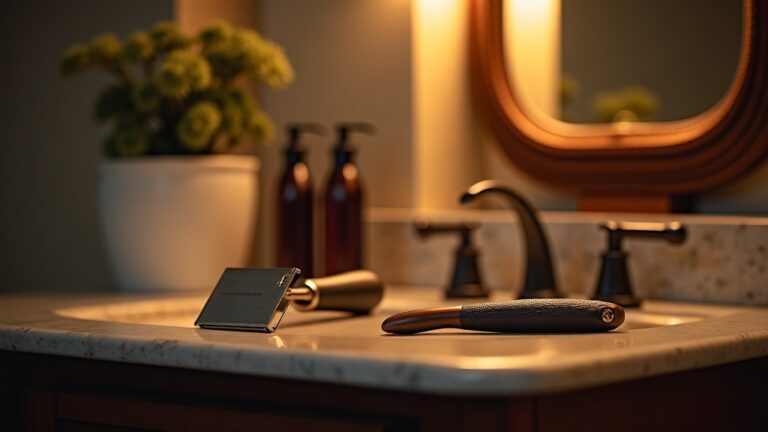
Essential Wet Shaving Equipment for Beginners
You need four core items to start wet shaving properly. Don’t skimp on these—cheap equipment will frustrate you and defeat the purpose.
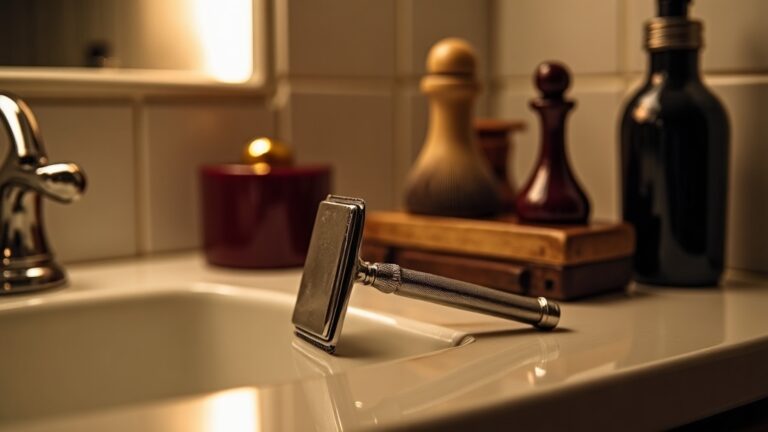
1. Safety Razor
Your first razor should be forgiving while you learn angle and pressure. I recommend a three-piece razor with medium aggression—aggressive enough to cut efficiently but not so aggressive you’ll slice yourself learning. The Merkur 34C safety razor is the gold standard beginner razor for good reason.
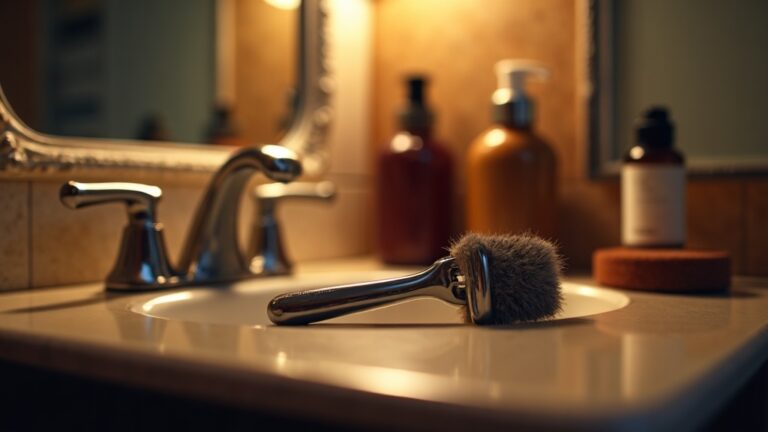
2. Shaving Brush
A good brush does three things: exfoliates skin, lifts hair, and builds lather. Synthetic brushes are the best starting point—they’re affordable, break in immediately, and perform as well as badger hair. Look for a synthetic shaving brush with 24-26mm knot size.
3. Shaving Soap or Cream
Traditional shaving soap provides better cushion and glide than canned foam. Soap lasts longer and performs better, but cream is easier to lather for beginners. Start with cream if you want quick wins, move to soap when you want to geek out on performance.
4. Double-Edge Blades
Blade preference is personal—what works for my coarse beard might not work for you. Buy a double-edge blade sampler pack and test 5-10 brands. Feather, Astra, Derby, and Gillette Silver Blue are common favorites.
Equipment Comparison: Beginner Options
| Equipment Type | Budget Option | Recommended Option | Premium Option |
|---|---|---|---|
| Safety Razor | Vikings Blade ($15-20) | Merkur 34C ($40-50) | Karve Christopher Bradley ($80-120) |
| Shaving Brush | Omega Synthetic ($12-15) | Yaqi Synthetic ($20-25) | Simpson Badger ($80-150) |
| Shaving Soap | Proraso ($10-12) | Stirling Soap Co ($15-18) | Barrister and Mann ($20-25) |
| Blades | Derby ($10/100) | Astra Platinum ($12/100) | Feather ($18/100) |
Step-by-Step Wet Shaving Technique
Technique matters more than equipment. I’ve gotten perfect shaves with a $15 razor and terrible shaves with $200 razors when I rushed the process.
Step 1: Prepare Your Face (2-3 minutes)
Shave after a hot shower, or apply a hot towel to your face for 2-3 minutes. This softens the hair and opens pores. Splash warm water on your face and leave it wet—don’t dry off.
Step 2: Build Your Lather (1-2 minutes)
Soak your brush in warm water for 30 seconds. Load the brush by swirling it on the soap for 20-30 seconds. Build lather in a bowl or directly on your face using circular motions. Add drops of water until you get yogurt-thick consistency—it should be creamy, not foamy.
Step 3: First Pass—With the Grain (3-4 minutes)
Hold the razor at a 30-degree angle against your skin. Use zero pressure—let the weight of the razor do the work. Shave with the direction your hair grows (usually down on cheeks, down on neck). Short strokes. Rinse the blade every 2-3 strokes.
This is where beginners mess up: they apply pressure like with cartridge razors. Don’t. The blade is sharp enough without pressure.
Step 4: Second Pass—Across the Grain (Optional)
Re-lather and shave perpendicular to hair growth. This gets you closer without the irritation risk of against-the-grain shaving. For most guys, this is the sweet spot between smooth and comfortable.
Step 5: Rinse and Apply Aftershave
Rinse with cold water to close pores. Pat dry—don’t rub. Apply an alcohol-free aftershave balm to moisturize and soothe. Alcohol-based splashes feel great but dry out your skin over time.
Common Mistakes Beginners Make
After 23 years and countless conversations with new wet shavers, these are the mistakes that cause most guys to give up:
- Using pressure: Let the razor’s weight do the work. Pressing causes irritation and cuts.
- Wrong angle: Too steep and you scrape; too shallow and you don’t cut. Find the 30-degree sweet spot by starting flat against your skin and rotating until you hear the blade cutting.
- Going against the grain first pass: Always start with the grain. Earn your way to against-the-grain shaving after weeks of practice.
- Dry lather: Your lather should be slick and creamy. Add water until it’s right.
- Cheap blades in bulk: Test before committing. What works for me might not work for you.
- Skipping prep: The hot water step isn’t optional. Trying to shave cold, dry hair causes problems.
How Long Does It Take to Learn Wet Shaving?
Expect 2-3 weeks of conscious practice before it feels natural. Your first few shaves will take 15-20 minutes. Once you’ve got it dialed in, you’ll finish in 8-10 minutes—same as cartridge shaving but with better results.
The muscle memory develops faster than you think. By week three, you’ll be adjusting angle and pressure without thinking about it.
Maintaining Your Equipment
Proper care extends the life of your gear:
- Razor: Rinse thoroughly after each shave. Deep clean monthly by soaking in warm soapy water. Pat dry to prevent water spots.
- Brush: Rinse until water runs clear. Shake out excess water and hang or stand bristles-down to dry. Replace every 3-5 years.
- Blades: Change every 3-7 shaves depending on your hair coarseness and the blade brand. When it starts tugging, change it.
- Soap: Keep the lid on between uses. It’ll last 3-6 months with daily shaving.
Frequently Asked Questions
How often should I change the blade in my safety razor?
Change blades every 3-7 shaves depending on your hair type and blade quality. Coarse beards dull blades faster. When the blade starts tugging instead of cutting cleanly, it’s time to swap. I change mine every 5 shaves with Astra Platinum blades.
Can I wet shave if I have sensitive skin?
Yes—wet shaving often improves sensitive skin issues because you’re using sharper blades with better technique. Start with a mild razor, quality soap with natural ingredients, and always shave with the grain on your first pass. Avoid alcohol-based aftershaves. Most “sensitive skin” problems are actually technique problems.
Is wet shaving faster or slower than cartridge razors?
Slower at first (15-20 minutes while learning), but once you’re proficient, it takes 8-10 minutes—about the same as cartridge shaving. The difference is you’re getting a better shave in that time. The prep and lathering add 2-3 minutes, but you save time by needing fewer passes.
Do I need to shave against the grain for a close shave?
Not necessarily. A with-the-grain pass followed by an across-the-grain pass gives most guys a perfectly acceptable shave without irritation. Against-the-grain is optional and should only be attempted after you’ve mastered the basics. I only go against the grain on my cheeks where my skin tolerates it.
What’s the difference between a safety razor and a straight razor for beginners?
Safety razors are more forgiving and practical for beginners. Straight razors require stropping, honing, and significantly more skill to avoid cuts. Start with a safety razor. You can explore straight razors later if you want to go deeper into traditional shaving. I’ve used both for decades—I reach for my safety razor 90% of the time.