

The quick take
Verdict, audience & limits
Can You Put a Shaving Razor in Your Carry-on?
I started wet shaving with my grandfather’s 1959 Gillette Fatboy, and after 23 years and a collection of 300+ razors owned or handled, […]
Who this is for
Readers deciding whether this shaving topic, method, or product category fits their routine and preferences.
What this cannot promise
A universal result, irritation-free shave, medical outcome, or firsthand product test unless that specific use is explicitly documented.
Specifications & source boundary
Model dimensions, materials, blade compatibility, and loading instructions should be checked against the maker’s documentation for the exact product and version. Manufacturer specifications are not independent measurements, and a photograph is not evidence of a product test.
How to read the evidence
Applies only where a specific razor, blade, or product and its conditions are explicitly identified.
Maker-supplied details should be checked against the exact model, market, and version.
A cautiously summarized pattern across identified sources, with disagreement acknowledged.
Background or explanatory framing, not a testing credential or objective measurement.
A subjective choice about feel, cost, convenience, or ritual—not a universal recommendation.
Technique variables
Change one thing. Pay attention.
Lather & preparation
Soften the beard with water, build a comfortably slick lather, and reapply before another pass.
Angle & pressure
Use light pressure and a shallow, familiar angle appropriate to the razor. Do not press harder to compensate for tugging.
Direction & passes
Begin with the grain, use fewer deliberate passes, and let comfort matter more than chasing perfect closeness.
Blade handling
Follow loading instructions, hold only unsharpened sides, and keep cutting edges away from fingers.
Use light pressure, fewer deliberate passes, and stop for pain or persistent irritation. Keep unused blades dry, secure, and away from children and pets. Place used blades in a closed puncture-resistant container and follow local disposal guidance. This is general grooming guidance, not medical advice.
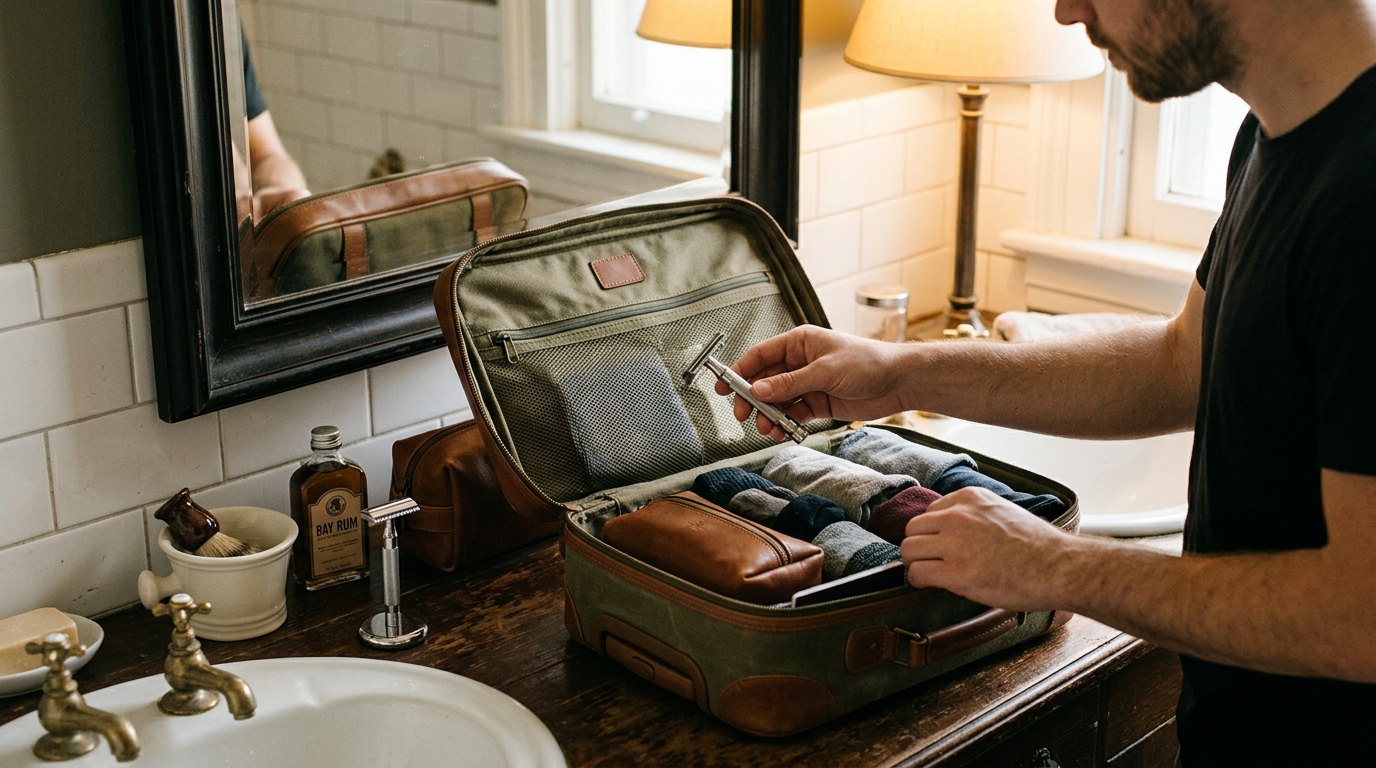
I started wet shaving with my grandfather’s 1959 Gillette Fatboy, and after 23 years and a collection of 300+ razors owned or handled, I still appreciate a tool built to be maintained. But packing one for a flight takes more thought than dropping it into a wash bag. The blade matters at security; moisture and rough handling matter to the razor.
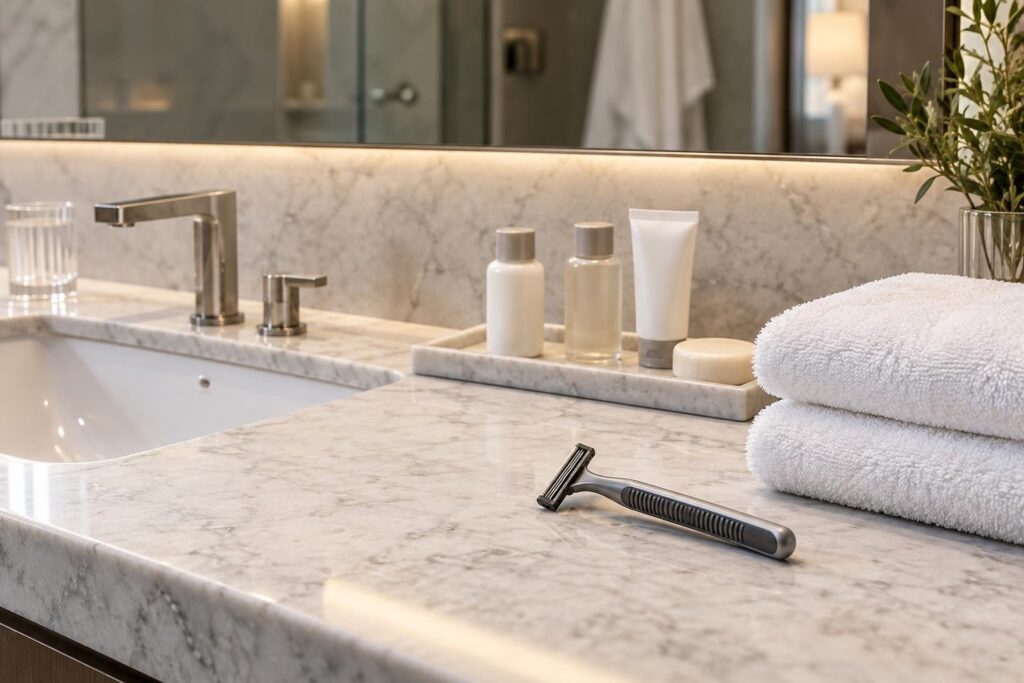
Can you put a shaving razor in your carry-on? Yes, if it is a disposable razor, a cartridge razor, or an electric shaver. A traditional safety razor must have its blade removed. Loose replacement blades and traditional straight razors belong in checked baggage. Those are the basic U.S. TSA distinctions, explained in its razor packing guidance. For travel outside the United States, check the departure and connecting airports? security rules, including your return journey.
As an Amazon Associate, I earn from qualifying purchases.
1. Know Which Kind of Razor You Are Packing
The confusing word is “removable.” A cartridge head comes off its handle, but its cutting edges remain enclosed in the cartridge. A double-edge safety razor opens so you can remove the thin, exposed steel blade itself. Those are different arrangements, and they lead to different packing rules.
| Shaving item | Carry-on at U.S. checkpoints | Practical packing choice |
|---|---|---|
| Disposable razor | Yes | Fit its protective cap |
| Cartridge razor and spare enclosed cartridges | Yes | Keep spare heads in their holder |
| Double-edge safety razor | Yes, without the blade | Empty it before leaving home |
| Loose double-edge or single-edge shaving blades | No | Pack securely in checked baggage or buy at your destination |
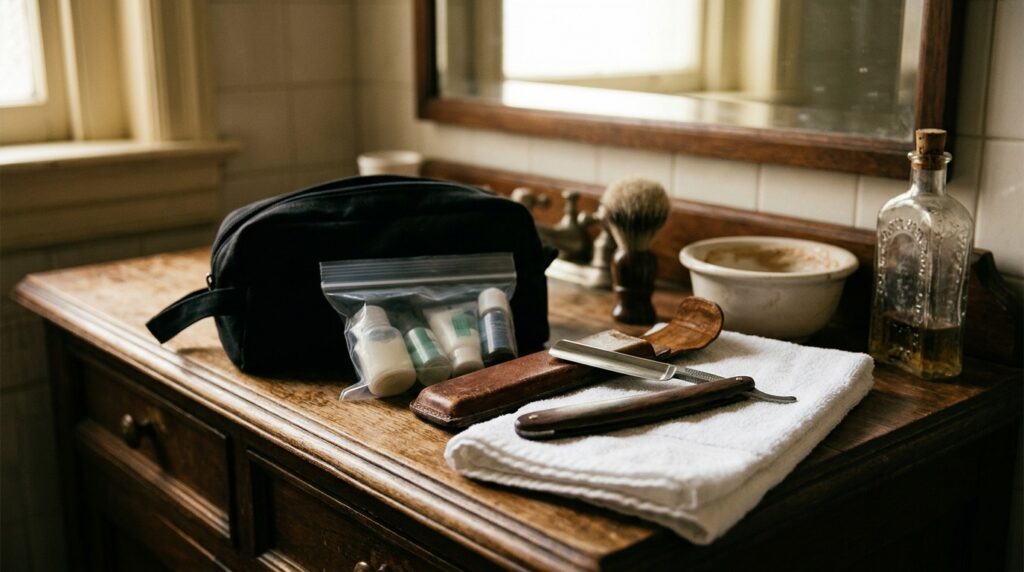
| Traditional straight razor | No | Close and protect it in checked baggage |
| Electric shaver | Yes | Protect the head and prevent accidental activation |
For an unusual design, use TSA’s What Can I Bring? directory and ask about the exact model. Do not assume that removing the blade from a shavette gives it the same status as an empty double-edge safety razor. I would put a shavette in checked baggage or leave it home unless the relevant security authority has clarified that model’s treatment.
Permission to carry an item is not a guarantee of clearance. TSA notes that otherwise permitted items can receive additional screening or be refused when security concerns arise in its travel tips. Leave time for an inspection, particularly with unfamiliar vintage equipment.
2. Make a Blade Plan Before Taking a Safety Razor
An empty razor is only half a shaving kit. If you are traveling with cabin baggage alone, arrange blades at your destination before you commit to bringing it. Look for a shop that stocks the correct format, or arrange delivery to accommodation that has agreed to receive it. A hotel offering complimentary razors may have disposables, but that does not mean it carries double-edge blades.
Compatibility deserves attention with older single-edge and injector razors. A hardware-store blade that looks similar is not automatically suitable for shaving, and a dispenser’s plastic housing does not turn loose replacement blades into enclosed shaving cartridges. Bring the model name and correct blade specification when shopping.
Check the entire wash bag
Remove the installed blade at home, while you have good light and a clear counter. Then check the razor case, spare-blade compartment, side pockets, and any travel blade bank. A forgotten used blade is still a blade. A sealed packet of new double-edge blades also remains unsuitable for carry-on; its retail wrapping does not change the category.
With checked luggage, keep fresh blades in their original wrappers inside a secure protective container. TSA’s item directory advises sheathing or securely wrapping sharp items in checked bags to protect handlers and inspectors. A loose blade tucked inside a folded towel is poor protection.
My judgment call for a short trip is simple: if finding the right blades will consume part of the first evening, take a familiar cartridge razor. A good travel kit earns its place by being dependable. Save the elaborate shaving setup for a trip where you have room and time to enjoy it.
3. Protect the Finish and the Geometry of an Old Razor
I would leave my grandfather’s Fatboy at home for an ordinary flight. Its value to me cannot be replaced by buying another example. A sound, replaceable razor makes more sense when bags can be delayed and equipment can be dropped onto an unfamiliar bathroom floor.
For a vintage razor that does travel, protect the head first. Open-comb teeth, safety bars, and butterfly doors should not carry the pressure from a tightly packed bag. A bent guard can change how the blade meets your face. Cosmetic scuffs are irritating; altered blade alignment can make the razor unusable until properly repaired.
A hard-shell safety razor travel case is useful if its interior fits your particular razor without squeezing the head. Check dimensions and padding. A hard exterior does little good if the razor rattles around inside or rests on one comb tooth.
Keep loose metal parts apart
For a three-piece razor, individually cushioned components can make the empty head easy to inspect. Keep the cap, baseplate, and handle from rubbing against each other. For a butterfly razor, empty and dry the head, then close the doors gently for transport. There is no need to dismantle its internal mechanism.
Use a clean, soft cloth as cushioning, with the razor fully dry underneath. A gritty cloth can scratch a finish, and a damp leather sleeve holds moisture against metal. Keep the razor separate from nail clippers, keys, and anything else that can hammer against it. Put liquid toiletries in a separate sealed bag so a leaking bottle cannot soak the case.
4. Clean Before Packing Without Turning It Into a Restoration Job
My workshop rule is to remove dirt before deciding whether a surface needs anything stronger. On an old razor, discoloration may be tarnish, worn plating, or exposed base metal. Scrubbing harder will not put missing nickel or gold back. Travel preparation should leave the tool clean and dry, with its remaining finish intact.
For an ordinary all-metal safety razor in sound condition, remove the blade and wash the accessible parts with lukewarm water and a little mild dish soap. Use a dedicated soft toothbrush around knurling and beneath the cap, then rinse away the loosened lather. Avoid prolonged immersion when the razor has damaged plating, unknown coatings, or handles made from mixed materials.
Pat the empty parts dry with a soft lint-free microfiber cloth, and allow hidden moisture to evaporate before closing the case. Keep that cloth for the razor, rather than using one that has picked up abrasive bathroom grit. Do this the evening before departure whenever possible.
Leave the vinegar, bleach, abrasive polish, and boiling-water experiments out of this routine. Acid can attack vulnerable metal or compromised finishes; abrasives remove material; heat can damage nonmetal components. A bright surface is not proof that the cleaning method was gentle. Specialist restorer Razor Emporium also warns about plating loss from aggressive cleaning in its vintage razor cleaning demonstration.
Cleaning and disinfection solve different problems
Washing removes hair, soap, and surface dirt. It does not sterilize a razor. For your own maintained travel razor, routine washing and complete drying are the sensible starting point; a flight does not create a need for a disinfectant bath.
A secondhand razor with an unknown history deserves a separate assessment before it touches your face. If disinfection is appropriate, use a product labeled for the intended equipment and verify compatibility with the finish and handle materials. Follow its dilution, contact time, rinsing, and drying directions. A quick alcohol wipe is not a substitute for those instructions, and longer soaking is not automatically better. Leave uncertain restoration work for the bench, not the hotel sink.
5. Pack Shaving Soap, Cream, and Aftershave Separately
The razor may be allowed while its accompanying cream is too large for cabin baggage. Under TSA’s standard liquids rule, shaving cream, gel, liquid aftershave, and similar toiletries must be in containers of 3.4 ounces or 100 milliliters or less, fitting together in one quart-sized clear resealable bag per traveler. The container size counts, so a nearly empty large tube does not qualify. See TSA’s liquids guidance.
A genuinely solid shaving soap puck or stick is a practical way to reduce liquid packing. Soft shaving creams and paste-like soaps should go with the liquids; calling a product “soap” does not settle its consistency. Choose something you already know how to lather. A trip is an awkward time to discover that a new soap dries on your face before the first pass.
After shaving, drain the soap container and let the brush dry as much as the schedule permits. A brush should not spend the whole trip compressed into a sealed tube while wet. If you must pack it damp for departure, unpack it promptly when you arrive. Give the razor the same treatment instead of leaving yesterday’s moisture sealed inside its case.
6. Use a Return-Flight Routine
The outbound journey is usually planned; the return trip is where a freshly loaded razor gets forgotten. Build blade removal into your final shave rather than relying on a reminder while checking out.
- Remove the blade: Put blades you are taking home into securely protected checked baggage. With carry-on only, arrange appropriate local disposal before leaving.
- Contain used edges: Do not leave a bare blade in a hotel bin or wrapped only in tissue. A travel razor blade disposal container can contain edges until proper disposal, but a filled one must not go through security in your carry-on.
- Rinse and dry: Clear lather from the empty razor and give the parts air before packing.
- Inspect the head: If the razor was dropped, look for uneven doors, damaged threads, or a bent guard before loading it again.
- Check local rules: Confirm the requirements at the airport handling your return and any connecting security screening.
If a hotel cannot help with suitable blade disposal, ask about a local sharps collection option. Do not create a cleanup hazard to save a cheap blade. Planning this before the last morning is part of traveling comfortably with traditional shaving equipment.
7. Frequently Asked Questions
Can I carry spare cartridge heads?
Yes, conventional enclosed replacement cartridges can travel in cabin baggage under TSA guidance. Leave them in their protective holder. This is different from a pack of loose double-edge blades, even when that pack is unopened.
Does a safety razor need to be completely disassembled?
The essential requirement is removing the blade before screening. Separating a three-piece head can make inspection easier, but it also means keeping small parts secure. Pack it where it can be reached without emptying your whole suitcase.
Can I put a loaded safety razor in checked luggage?
Yes, with its sharp edges safely protected. My preference is to remove the blade and protect it separately: that lets the head dry and avoids leaving an exposed cutting edge during unpacking. Secure the razor against movement and pressure.
What if security questions my empty razor?
Explain calmly that the blade has been removed and follow the officer’s instructions. Ask before reaching in or opening anything, and request clarification if needed. A saved copy of the published guidance can help explain the design, but it does not override the checkpoint decision.
What is the easiest shaving setup for carry-on-only travel?
A familiar cartridge razor with a head cover and a solid shaving soap is straightforward. If you prefer a safety razor, carry it empty and confirm where the correct blades will come from. Either way, pack a clean, dry tool you can replace, and leave the irreplaceable family razor ready for your first shave back home.
Tradeoffs, uncertainty & affiliate disclosure
A closer shave can require more passes and may reduce comfort. Product feel varies with razor, blade, lather, angle, pressure, beard growth, and personal preference. ClassicBlade does not imply that every mentioned item was purchased, used, measured, or independently tested.
Some links may be affiliate links. ClassicBlade may earn a commission at no added cost to you; commercial links do not stand in for evidence.

Leave a Comment