


The quick take
Verdict, audience & limits
How Do I Prevent Razor Bumps and Ingrown Hairs When Shaving?
I started wet shaving with my grandfather’s razor, and after 23 years and a collection of 300+ razors owned or handled, my answer […]
Who this is for
Readers deciding whether this shaving topic, method, or product category fits their routine and preferences.
What this cannot promise
A universal result, irritation-free shave, medical outcome, or firsthand product test unless that specific use is explicitly documented.
Specifications & source boundary
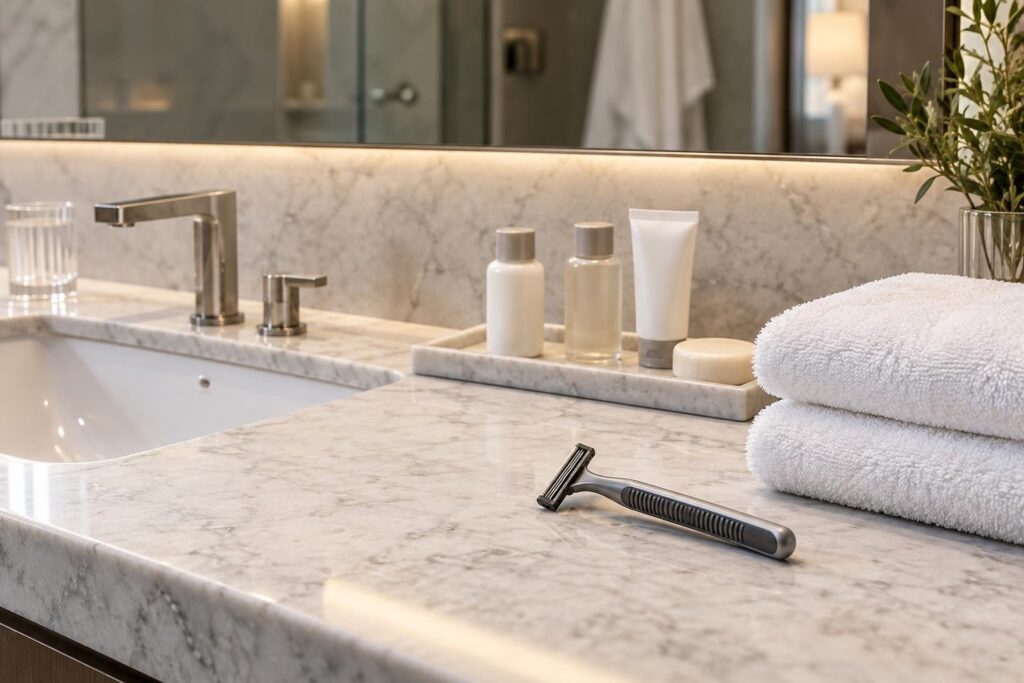
Model dimensions, materials, blade compatibility, and loading instructions should be checked against the maker’s documentation for the exact product and version. Manufacturer specifications are not independent measurements, and a photograph is not evidence of a product test.
How to read the evidence
Applies only where a specific razor, blade, or product and its conditions are explicitly identified.
Maker-supplied details should be checked against the exact model, market, and version.
A cautiously summarized pattern across identified sources, with disagreement acknowledged.
Background or explanatory framing, not a testing credential or objective measurement.
A subjective choice about feel, cost, convenience, or ritual—not a universal recommendation.
Technique variables
Change one thing. Pay attention.
Lather & preparation
Soften the beard with water, build a comfortably slick lather, and reapply before another pass.
Angle & pressure
Use light pressure and a shallow, familiar angle appropriate to the razor. Do not press harder to compensate for tugging.
Direction & passes
Begin with the grain, use fewer deliberate passes, and let comfort matter more than chasing perfect closeness.
Blade handling
Follow loading instructions, hold only unsharpened sides, and keep cutting edges away from fingers.
Use light pressure, fewer deliberate passes, and stop for pain or persistent irritation. Keep unused blades dry, secure, and away from children and pets. Place used blades in a closed puncture-resistant container and follow local disposal guidance. This is general grooming guidance, not medical advice.
I started wet shaving with my grandfather’s razor, and after 23 years and a collection of 300+ razors owned or handled, my answer is fairly plain: stop chasing the closest possible shave. Soften the beard, shave with its growth, use very little pressure, and leave out the repeated finishing passes. If close shaving keeps producing ingrown hairs, a guarded trimmer that leaves a little stubble may serve you better.
Cleaning and restoring old razors has also made me particular about the tool. A fresh blade deserves a sound, clean head. But polishing a handle or soaking it in disinfectant will never correct a shaving method that cuts curly whiskers too close.
As an Amazon Associate, I earn from qualifying purchases.
1. Understand what is causing the bumps
An ingrown hair grows back into the skin instead of clearing it. Close shaving can leave a sharp tip that reenters the skin, particularly when hair curls. Stretching skin while shaving can also let a cut hair retreat below the surface. The resulting inflammation is often called pseudofolliculitis barbae, or razor bumps. Mayo Clinic explains these causes and risk factors.
Razor burn usually feels like a broader irritated, stinging patch after shaving. Ingrown hairs tend to produce individual bumps as hair grows back. Those descriptions help you notice patterns; they cannot reliably diagnose every rash. Infection of the follicles can look similar and coexist with ingrown hairs, as DermNet’s folliculitis guidance explains.
This distinction matters at the sink. Repeated scraping calls for a change in technique. Hair growing into skin calls for reconsidering closeness. Increasing pain or drainage calls for medical assessment. Buying a stronger aftershave does not address all three problems.
Why coarse, curly hair needs a different target
Black men with tightly curled beard hair are especially prone to razor bumps, although anyone can develop them. The useful target is comfortable skin with a tidy beard line. DermNet describes leaving approximately 1 mm of stubble as part of avoiding excessively close shaving. That small amount of length can be a worthwhile tradeoff.
2. Choose a tool that controls closeness
A safety razor can be useful for coarse hair because you control the angle and work with one cutting edge at a time. It is not a treatment for ingrown hairs. An aggressive head used carelessly can still cause trouble, and the word “safety” does not promise comfortable skin.
My judgment after testing so many razors is to start with a predictable, moderately mild head and a secure grip. An adjustable belongs on a conservative setting while you establish technique. Coarse whiskers do not automatically demand a wide blade gap, an open comb, or an expensive stainless steel handle.
| Tool | Practical advantage | Tradeoff |
|---|---|---|
| Guarded beard trimmer | Leaves stubble instead of cutting flush | Does not produce a clean-shaven finish |
| Single-blade safety razor | Replaceable edge and direct stroke control | Requires angle control and light pressure |
| Multiblade cartridge | Familiar handling and a pivoting head | Makes repeated, very close cutting easy |
| Vintage safety razor | Serviceable construction when mechanically sound | Condition matters more than reputation |
If blade shaving repeatedly gives you bumps, consider a beard trimmer with a 1 mm guard. Check the included attachments and actual cutting lengths. A foil shaver designed for an extremely close finish is not equivalent to a guarded trimmer.
For a safety razor you already own, a small double-edge razor blade sampler pack can help you find an edge that cuts without pulling. Keep the razor and preparation constant while comparing blades. Otherwise, you cannot tell whether improvement came from the blade, the soap, or simply slowing down.
3. Prepare the beard and map your neck
Look at a little visible regrowth in good light. Note which way the hairs lie on each cheek, under the jaw, and along the lower neck. “With the grain” may mean downward on one patch and sideways on the next. A downward stroke everywhere is a habit, not a reliable grain map.
Wash gently and shave after a shower, or soften the beard with a warm, damp washcloth. Use moisturizing shaving cream. These basics follow the American Academy of Dermatology’s prevention guidance. Water should feel comfortable; a painfully hot towel offers no practical advantage.
A useful lather remains slippery through the stroke rather than becoming a dry, decorative layer. If your first cheek dries while you work on the other, add water or relather before touching it with the blade. Apply with fingers or a gentle brush; vigorous scrubbing is unnecessary.
Lay out the razor, towel, and moisturizer before starting. Adjusting a razor with slippery hands while lather dries on your neck encourages rushing. Good preparation includes making the job easy to do calmly.
4. Make a controlled pass and judge tomorrow’s skin
Begin with short strokes in the direction of growth, without pulling skin tight. Keep pressure light and avoid repeatedly shaving the same patch. These are central measures in DermNet’s shaving recommendations. An especially troublesome neck may need trimming instead of blade shaving.
With a double-edge razor, find the angle where the edge cuts without scraping. There is no universal handle position for every head and facial contour. Work in small sections around the jaw instead of dragging one long stroke from cheek to collar. Rinse when accumulated lather starts obscuring the edge.
- Check assembly: the head should close securely, with the blade correctly and evenly seated.
- Follow your map: change stroke direction when the hair changes direction.
- Stop when it pulls: check lather, blade condition, and assembly before continuing.
- Skip automatic finishing passes: across-grain and against-grain passes are not requirements.
- Record the aftermath: note next-day tenderness and new bumps, not just immediate smoothness.
I judge a blade by whether it cuts comfortably, not by a promised number of shaves. Rescuing a tugging edge with more pressure is a poor bargain. Replace dull or corroded blades; do not scrub or polish a disposable cutting edge back into service.
Keep a brief note of the blade, passes, and trouble spots. Change one thing at a time. A bathroom shelf full of new products makes it harder to understand what your skin actually tolerates.
5. Clean the razor without damaging the finish
A well-kept razor is easier to inspect and assemble properly. After shaving, rinse out hair and lather and let the tool dry in a ventilated place. At blade changes, safely remove and discard the old blade before cleaning the head. Handle replacement blades by their short, unsharpened ends.
For compatible metal parts, warm water, mild dish detergent, and a dedicated soft-bristle toothbrush make a practical starting kit. Work gently around threads and beneath the cap, rinse thoroughly, and dry the blade-free parts with a soft cloth. Never force a stuck mechanism.
Protect plating before chasing shine
My workshop rule is that an intact finish matters more than a mirror finish. Aggressive polishing can wear through thin plating, and powered buffing makes an expensive mistake happen quickly. Treat unidentified vintage finishes conservatively. Avoid abrasive pads, strong descalers, and improvised acid baths.
A shiny exterior does not tell you what metal is underneath. This is particularly important with plated zinc-alloy parts. Merkur specifically warns against acids and recommends warm water and a soft brush for routine care. Follow instructions for your particular model rather than a universal vinegar recipe.
Inspect old razors for bent guards, uneven doors, damaged threads, and rough or loose plating where the head touches skin. A handsome handle cannot compensate for uneven blade clamping. If cleaning reveals structural damage, retire the razor from shaving until properly assessed. Do not compensate by pressing harder.
Cleaning and disinfection have different jobs
Detergent removes residue. Disinfection requires a suitable product used at its labeled concentration and contact time, after cleaning. Neither shine nor a quick alcohol splash proves that a secondhand razor is ready for use. Compatibility also varies with lacquer, paint, adhesives, and nonmetal components.
Discard any old blade from an acquired razor and establish a disinfection method compatible with its materials. If that cannot be established, have a knowledgeable restorer assess it before shaving. Never share blades or mix cleaning chemicals. More frequent disinfection cannot stop a hair curling back into skin.
6. Let irritated skin settle
Rinse away shaving residue, pat dry, and apply a bland, fragrance-free moisturizer. Leave out an alcohol-heavy splash if it stings. A dramatic burn does not prove cleanliness. Keep the rest of the routine simple while you determine which shaving changes help.
Do not squeeze bumps, pluck hairs from them, or dig with a needle. If active bumps keep getting cut, pause close shaving. Improvement can take weeks after the trigger stops. Persistent bumps, raised scars, or recurring dark marks warrant a dermatologist’s assessment.
Exfoliating acids and prescription treatments have a place, but adding several at once can cause more irritation. Mayo Clinic describes treatment options, including medicines and laser hair removal. Ask a clinician about persistent trouble; for laser treatment on darker skin, seek someone experienced with your skin tone.
Seek prompt medical attention for spreading redness or warmth, worsening pain, substantial pus, or fever. These signs need more than another shaving experiment.
7. Frequently asked questions
Is a safety razor best for Black men with coarse hair?
It can offer useful control, but no razor suits every beard. Choose according to your skin’s response. If careful single-blade shaving still causes ingrowns, leaving stubble with a guarded trimmer is a reasonable next step.
Should I shave daily or every other day?
There is no universal schedule. AAD guidance discusses frequent shaving to limit curling regrowth, while DermNet includes reducing shaving frequency. Active inflammation may require a break from close shaving. Track your response and get individualized advice if neither approach helps.
Will disinfecting my razor stop razor bumps?
No. Hygiene matters, but it cannot correct excessive closeness or the direction hair grows. Recurrent suspected infection needs medical assessment rather than progressively harsher cleaning of your face or razor.
What should I change first tomorrow morning?
Map the neck, soften the beard, and omit extra finishing passes. Put a sound blade in a clean, correctly assembled razor. Judge the shave by how your skin feels the following day. A little remaining texture is an acceptable price for a comfortable neck.
Tradeoffs, uncertainty & affiliate disclosure
A closer shave can require more passes and may reduce comfort. Product feel varies with razor, blade, lather, angle, pressure, beard growth, and personal preference. ClassicBlade does not imply that every mentioned item was purchased, used, measured, or independently tested.
Some links may be affiliate links. ClassicBlade may earn a commission at no added cost to you; commercial links do not stand in for evidence.


Leave a Comment