How to Clean and Maintain a Safety Razor: Complete Care Guide
How to Clean and Maintain a Safety Razor: Complete Care Guide
After 23 years of wet shaving and putting over 300 razors through their paces, I’ve learned that a clean safety razor isn’t just about aesthetics—it’s about performance, blade life, and preventing skin irritation. The good news: cleaning a safety razor takes less than two minutes for daily maintenance and maybe ten minutes for a thorough monthly deep clean.
Let me walk you through exactly how I maintain my razors, from my grandfather’s 1959 Gillette Fatboy to the modern precision razors I test weekly. You’ll learn the daily routine that prevents buildup, the monthly deep clean that restores performance, and how to handle specific problems like hard water stains and tarnish.
Why Regular Cleaning Matters More Than You Think
A dirty safety razor isn’t just unpleasant to look at. Soap scum and hard water deposits change the blade gap and angle, turning a smooth shaver into a tugger. Residue under the blade can harbor bacteria, and mineral buildup makes blade changes awkward and potentially cuts your fingers on the exposed edge.
I’ve tested razors side-by-side—same blade, same soap, same technique—and a gunked-up razor consistently delivered more irritation and worse results. The precision engineering of a quality safety razor works in tolerances of hundredths of a millimeter. A thin film of soap scum is enough to throw that off.
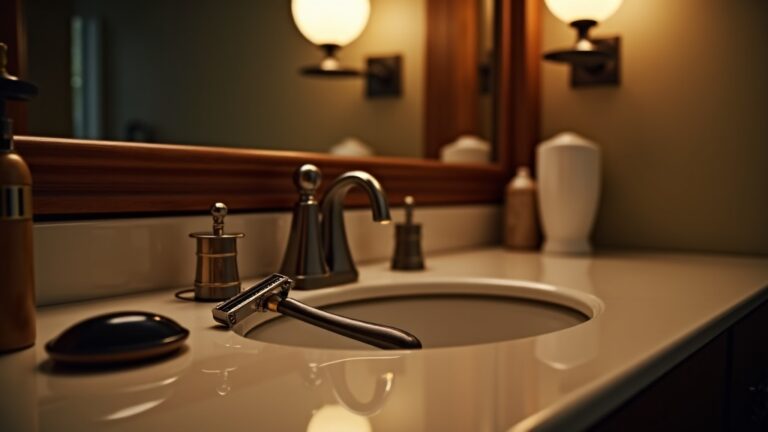
Daily Quick Clean: The Two-Minute Routine
This is what I do after every shave, and it prevents 90% of maintenance headaches:
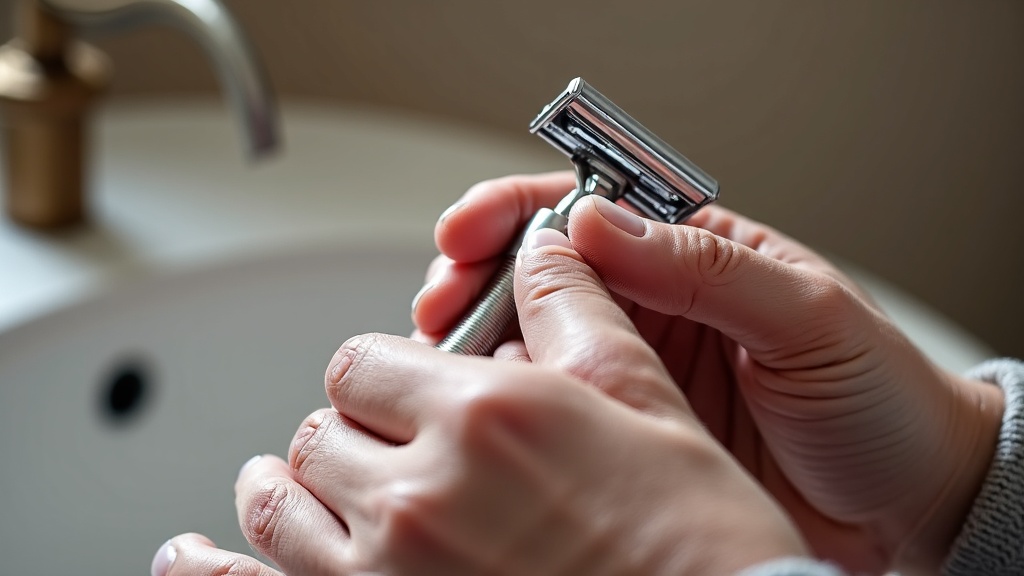
- Rinse thoroughly under hot running water while the razor is still assembled. Let the water flow through the head from multiple angles for 20-30 seconds. Hot water dissolves soap residue better than cold.
- Disassemble and rinse again. Take the razor apart completely. Rinse the baseplate, cap, and blade separately. Pay attention to the underside of the cap where lather hides.
- Dry with a towel. I use a dedicated microfiber towel. Pat each piece dry—don’t drag or wipe against the blade edge. This prevents water spots and, on vintage brass razors, slows tarnishing.
- Stand to air dry. I reassemble the razor without the blade and stand it on its handle or lay it on a dry towel for 30 minutes. Complete drying prevents any moisture from sitting in threads or crevices.
That’s it. Four steps, two minutes, done. If you do this consistently, you’ll rarely need aggressive cleaning.
Weekly Deep Clean: Removing Soap Scum and Buildup
Once a week—usually Sunday evening—I give my daily-use razor a more thorough cleaning. Here’s my method:
The Warm Soapy Soak
Disassemble the razor completely and remove the blade. Fill a small bowl with warm water and add a few drops of gentle dish soap. Submerge all metal parts and let them soak for 5-10 minutes.
For stubborn buildup, I use an old soft-bristle toothbrush to gently scrub crevices, the underside of the safety bar, and threading. The key word is gently—you’re removing soft deposits, not grinding away metal.
Hard Water Stain Removal
If you have hard water (white crusty deposits), add a 5-minute vinegar soak to your routine:
- Mix equal parts white vinegar and warm water in a bowl
- Soak razor parts for 5 minutes maximum (not longer—vinegar is acidic)
- Scrub gently with a soft toothbrush
- Rinse thoroughly under running water
- Dry completely with a towel
I’ve restored razors that looked permanently stained with this method. The acetic acid in vinegar dissolves mineral deposits without harming stainless steel, brass, or chrome plating when used briefly.
Monthly Maintenance: Deep Clean and Inspection
Once a month, I take it up a notch. This is when I inspect for damage, clean areas I normally skip, and restore any tarnished brass or vintage finishes.
Ultrasonic Cleaning (Optional but Excellent)
I use an ultrasonic jewelry cleaner filled with warm water and a drop of dish soap. Three minutes at standard frequency removes deposits from areas a toothbrush can’t reach—inside knurling, under safety bars, deep in threading.
This isn’t necessary for most shavers, but if you collect vintage razors or want the absolute cleanest head possible, it’s worth the investment. I paid $35 for mine six years ago and it’s still running.
Polishing Tarnished Brass and Vintage Razors
For brass razors that have developed tarnish (that greenish or blackish patina), I use a brass polish cloth or a tiny amount of brass polish cream. Apply with a soft cloth, rub gently in small circles, then wipe clean and wash with soapy water to remove all polish residue.
Important: Don’t polish chrome-plated razors with brass polish—you’ll damage the chrome. And if you prefer the patina on vintage brass, don’t polish at all. That aged look is part of the character.
Thread Lubrication
Every few months, I put a tiny dab of mineral oil on the threads before reassembling. This keeps the razor smooth to open and close, prevents cross-threading, and on brass razors, prevents thread galling. One drop is enough—you don’t want oil dripping everywhere.
Cleaning Different Razor Materials: What You Need to Know
Not all razors are created equal. Here’s how I adjust my cleaning based on material:
| Material | Safe Cleaners | Avoid | Special Notes |
|---|---|---|---|
| Stainless Steel | Dish soap, vinegar, ultrasonic | Abrasive scrubbers, steel wool | Most forgiving material; hard to damage |
| Chrome-Plated Brass | Dish soap, gentle vinegar soak, soft cloth | Brass polish, abrasives, long vinegar soaks | Chrome is thin; aggressive cleaning removes plating |
| Bare Brass | Dish soap, brass polish, vinegar | Harsh abrasives | Will tarnish naturally; patina is normal and protective |
| Aluminum | Dish soap, water, soft brush | Vinegar, acidic cleaners, harsh alkaline soaps | Acid and alkali can pit or discolor aluminum |
| Zamak/Pot Metal | Gentle dish soap, quick rinse and dry | Long soaks, vinegar, ultrasonic | Plating often hides corrosion; be gentle with vintage razors |
The biggest mistake I see people make is using brass polish on chrome-plated vintage Gillettes. You’ll strip the chrome right down to brass, ruining both the finish and the collector value.
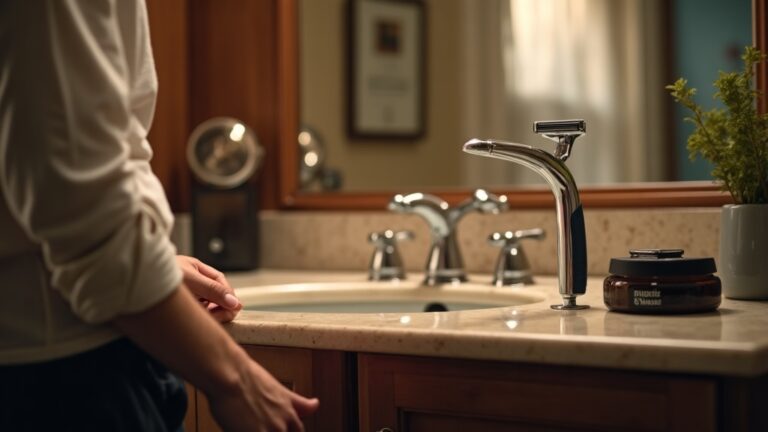
Blade Care and Replacement Schedule
While you’re cleaning the razor, take a look at your blade. I typically get 5-7 comfortable shaves from a blade, but your mileage will vary based on hair coarseness and shaving frequency.
Here’s what I look for when deciding whether to replace a blade:
- Tugging or pulling during the shave instead of smooth cutting
- Increased irritation or razor burn with your normal technique
- Visible corrosion or spots on the blade edge (rare with modern coated blades, but it happens)
- Number of shaves—if I’m past seven shaves, I swap the blade regardless of feel
Don’t try to extend blade life by cleaning or stropping. Safety razor blades cost pennies each. A fresh blade performs better and is safer than trying to nurse a dull one.
Storage: Preventing Problems Before They Start
How you store your razor between shaves matters as much as how you clean it. Here’s my setup:
Open and dry: I store my daily razor on a simple stand with the head disassembled or loose enough for air circulation. Trapped moisture between the blade and baseplate is the enemy.
Humid bathrooms: If your bathroom gets steamy from showers, consider storing your razor in a cabinet or drawer after it’s dried. Constant humidity accelerates tarnish on brass and corrosion on blades.
Vintage razors in rotation: For my collection of vintage razors that I don’t use daily, I store them in a drawer with silica gel packets to control moisture. A light coat of mineral oil on bare brass or steel prevents tarnish during storage.
Troubleshooting Common Cleaning Problems
White Crusty Buildup Won’t Come Off
This is hard water calcium deposits. Extend your vinegar soak to 10 minutes, or try full-strength white vinegar for 3-5 minutes. For severe cases, I’ve used CLR calcium remover following package directions, then thoroughly rinsing and washing with dish soap.
Black Gunk Between the Blade and Baseplate
That’s a mix of soap residue, hard water minerals, and oxidized metal particles from the blade. It means you’re not rinsing well enough after each shave. Disassemble completely, soak in warm soapy water for 10 minutes, scrub with a toothbrush, and commit to better daily rinsing.
Razor Feels Rough or Gritty When Opening/Closing
Soap and mineral deposits in the threads. Disassemble, soak threads in warm soapy water, scrub gently with a toothbrush, rinse, dry completely, and apply a tiny drop of mineral oil to the threads.
Chrome Plating Is Flaking or Peeling
Unfortunately, you can’t fix this. It’s the end result of decades of moisture exposure on vintage pot metal razors. Clean gently to prevent accelerating the damage, but understand that the plating is failing from underneath. This is cosmetic—the razor will still shave—but the plating loss will continue.
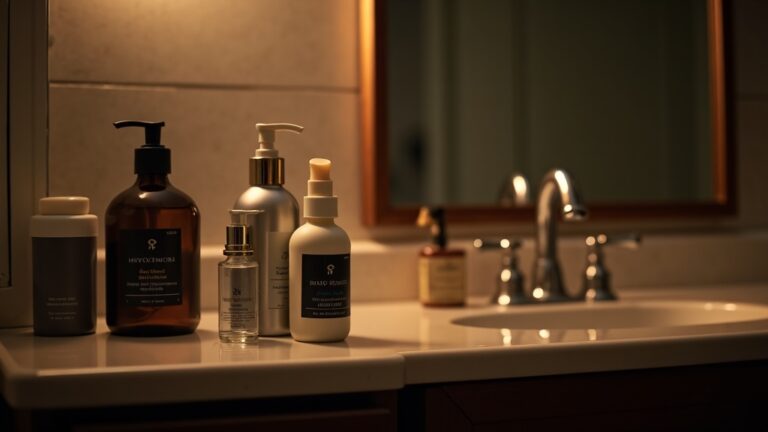
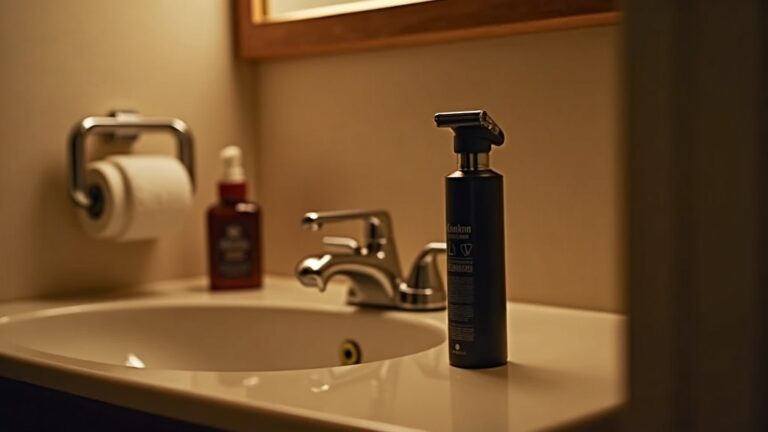
Products I Actually Use and Recommend
You don’t need fancy specialized products to clean a safety razor. Here’s what’s actually in my bathroom cabinet:
- Dish soap: Any gentle formula works. I use whatever’s at the kitchen sink.
- White vinegar: The standard grocery store 5% acidity type. Cheap and effective for mineral deposits.
- Microfiber towels: Soft, lint-free, and I can toss them in the wash weekly.
- Soft toothbrush: When the family bathroom toothbrush gets replaced, the old one becomes my razor cleaning brush.
- Mineral oil: Food-grade from the pharmacy. A $4 bottle lasts years for thread lubrication.
The only specialty item I own is a brass polishing cloth for my vintage brass razors, and that was a $7 purchase five years ago that I still use.
How Often Should You Really Clean Your Razor?
Here’s my honest recommendation based on 23 years of daily wet shaving:
- After every shave: Thorough rinse, disassemble, dry with towel (2 minutes)
- Weekly: Warm soapy soak and gentle brush scrub (10 minutes)
- Monthly: Deep clean with vinegar if needed, inspection, thread lubrication (15 minutes)
- As needed: Polishing, intensive stain removal, troubleshooting
The daily rinse and dry is non-negotiable. The weekly and monthly routines are flexible based on your water hardness, soap type, and how much visible buildup you see.
I live in an area with moderately hard water and use traditional shaving soaps that leave more residue than creams. Someone with soft water using cream might get away with less frequent deep cleaning.
Frequently Asked Questions
Can I put my safety razor in the dishwasher?
Technically yes for solid stainless steel razors, but I don’t recommend it. The harsh detergents and high heat can damage finishes over time, and you risk the razor falling into the heating element. It takes two minutes to hand wash—just do that.
How do I clean a safety razor blade for reuse?
Don’t. Safety razor blades are designed as disposable items and cost 10-20 cents each when bought in bulk. Trying to clean and reuse a blade is false economy—you’ll get worse shaves and risk infection from a compromised edge. Replace the blade.
Is it safe to use rubbing alcohol to clean my safety razor?
Yes, isopropyl alcohol is safe for all common razor materials and excellent for disinfection. It evaporates completely so you don’t need to rinse afterward. I use it occasionally when I want to disinfect a vintage razor I just acquired, but it’s overkill for daily cleaning.
My vintage brass razor has turned green—is it ruined?
No, that’s just brass oxidation (verdigris). It’s cosmetic, not structural. You can remove it with brass polish or a vinegar soak followed by gentle scrubbing. Or leave it—many collectors prefer the natural patina on vintage brass.
Should I oil my safety razor like a straight razor?
No need for the entire razor. A tiny drop of mineral oil on the threads every few months is useful, but safety razors don’t require the same oiling routine as carbon steel straight razors. Stainless steel and chrome-plated razors need no oil at all beyond optional thread lubrication.
The Bottom Line on Safety Razor Cleaning
Cleaning a safety razor is simple: rinse thoroughly after every shave, give it a soapy scrub once a week, and do a deeper clean monthly. That’s the routine that’s kept my razors performing like new, from modern stainless precision tools to my grandfather’s 67-year-old Gillette.
The time investment is minimal—maybe ten minutes total per week—and the payoff is better shaves, longer-lasting razors, and the satisfaction of maintaining your tools properly. Start with the daily rinse and dry routine. That single habit prevents 90% of buildup and problems. The rest is just refinement.