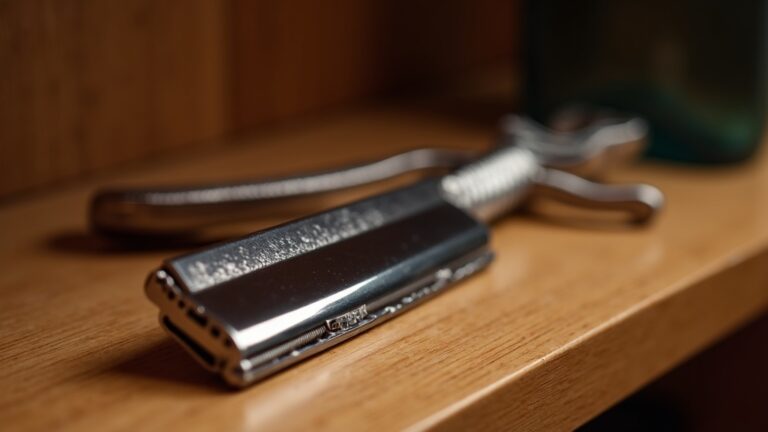
How to Properly Use a Safety Razor: Step-by-Step Technique
The single biggest mistake I see new safety razor users make is pressing down like they’re wielding a cartridge razor. After 23 years and more than 300 razors tested, I can tell you that proper safety razor technique is about angle, not pressure—and once you nail those fundamentals, you’ll wonder why you ever tolerated five-blade cartridges.
The Three Core Principles of Safety Razor Technique
Before we dive into step-by-step instructions, understand these non-negotiables:
1. Let the weight of the razor do the work. A quality safety razor has enough heft to glide across your skin without any downward pressure from your hand.
2. Maintain a 30-degree angle. This is where the blade meets your skin at the optimal cutting position—too steep and you scrape, too shallow and nothing happens.
3. Short strokes with the grain first. Long, sweeping strokes invite nicks and irritation. Keep it to 1-2 inches per pass.
Pre-Shave Preparation: The Foundation of a Good Shave
Technique starts before the blade touches your face. I shower before every shave—the hot water softens whiskers and opens pores. If you’re skipping this step, you’re making the shave harder than it needs to be.
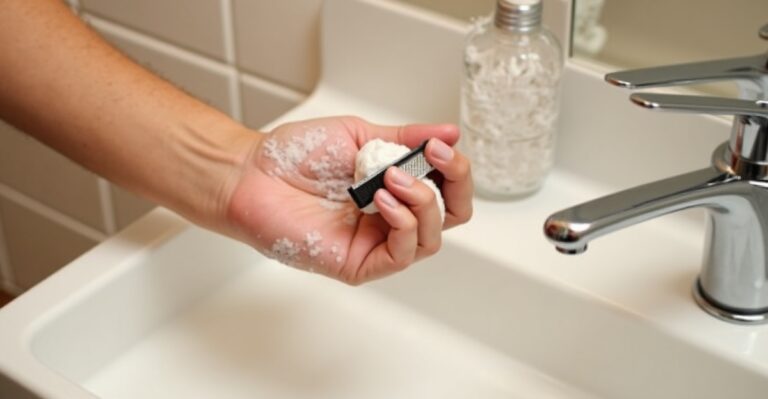
Apply a quality pre-shave oil to damp skin. Work it in for 30 seconds. This creates a protective barrier and allows the razor to glide smoothly. Then build your lather—whether you’re using a traditional shaving soap or cream, aim for yogurt-like consistency with a badger hair brush.
Step-by-Step Safety Razor Technique
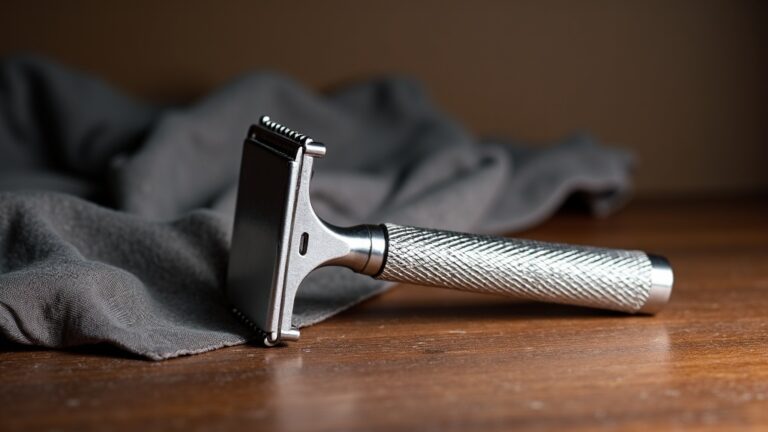
Step 1: Find Your Angle
Hold the razor perpendicular to your face (90 degrees), then tilt it down until the blade just touches your skin—that’s roughly 30 degrees. You’ll hear a subtle cutting sound when you’ve got it right. This is the angle you’ll maintain throughout the shave.
Step 2: The First Pass (With the Grain)
Start with your cheeks—they’re the most forgiving area. Use your free hand to stretch the skin taut. Make short, downward strokes following the direction your hair grows. Don’t apply pressure. Don’t repeat strokes. Just one clean pass.
Move systematically: cheeks, sideburns, upper lip, chin, jaw line, neck. The neck is where most guys struggle because hair grows in different directions. Map your grain pattern before you shave—run your hand across dry stubble and note which direction feels smooth (with the grain) versus rough (against the grain).
Step 3: Rinse and Relather
Rinse your face with warm water. Inspect for any spots you missed. Apply a fresh layer of lather—this isn’t optional for additional passes.
Step 4: The Second Pass (Across the Grain)
This pass targets stubble that lies at an angle. On your cheeks, this usually means shaving horizontally from ear to nose. On your neck, you’ll need to pay attention to your specific growth pattern. Keep the same 30-degree angle, same light touch, same short strokes.
Step 5: Optional Third Pass (Against the Grain)
Only attempt this after you’ve mastered the first two passes. Against-the-grain gives the closest shave but carries the highest risk of irritation and ingrown hairs. I skip it most days—two passes with good technique gives me a perfectly acceptable shave.
If you do go against the grain, be extra cautious on the neck and use minimal pressure. This is where beginners draw blood.
Step 6: Rinse and Assess
Rinse with cool water to close pores. Run your hand across your face—not to check for absolute smoothness, but to identify any rough patches. You can do a touch-up pass on specific areas if needed, but don’t chase perfection. Your skin will thank you.
Common Technique Mistakes (And How to Fix Them)
| Mistake | Why It Happens | Fix |
|---|---|---|
| Applying pressure | Cartridge razor muscle memory | Hold the razor with three fingers, not your whole fist—impossible to press hard |
| Wrong angle (scraping) | Tilting the handle too far down | Listen for the cutting sound—if you don’t hear it, adjust the angle |
| Going ATG too soon | Chasing “baby smooth” immediately | Master WTG and XTG for two weeks before attempting ATG |
| Long, fast strokes | Trying to finish quickly | Slow down—short, deliberate strokes prevent accidents |
| Dry passes/touch-ups | Thinking “just this one spot” | Always relather before additional passes—no exceptions |
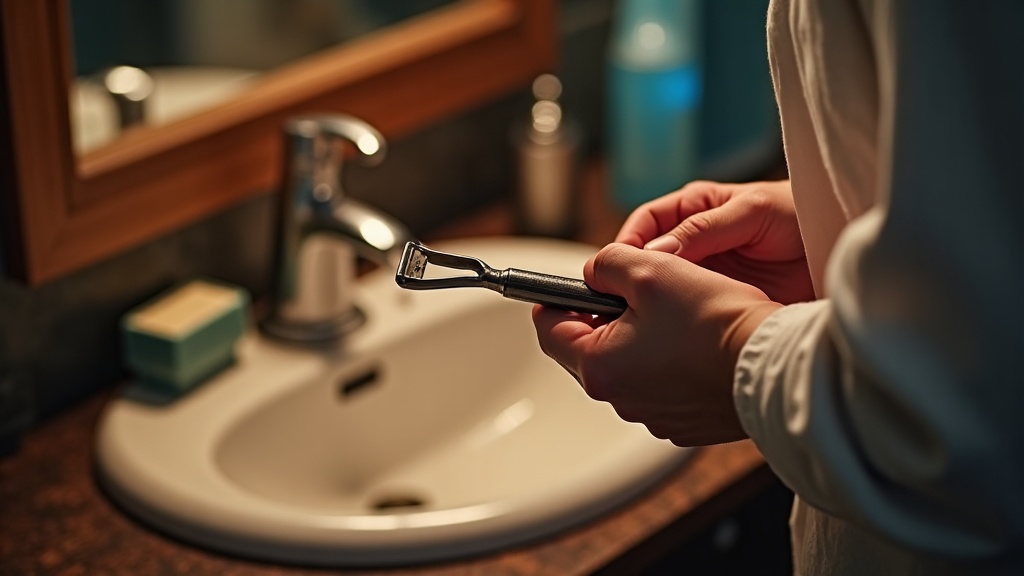
Grip and Hand Position
I hold my razor differently than most instructional videos suggest. Instead of gripping the end of the handle, I choke up—my thumb and forefinger about an inch from the head. This gives me finer control and makes it physically difficult to apply too much pressure.
Your other hand is just as important. Use it to stretch skin, flatten contours, and create a smooth surface for the blade to work across. On my neck, I tilt my head back and use my free hand to pull the skin tight—this makes the awkward angle much more manageable.
Blade Selection and Technique
Here’s something the YouTube tutorials won’t tell you: blade choice affects technique. Sharper blades like Feather blades require a lighter touch and reward good technique. Milder blades like Derby blades are more forgiving but require more passes for equivalent results.
When you’re learning technique, start with a medium-sharp blade—Astra Superior Platinum is my default recommendation. Once your technique is solid, experiment with sharper options.
Post-Shave: The Final Step
Rinse with cold water. Pat dry—don’t rub. Apply an alum block if you want feedback on your technique—it’ll sting anywhere you applied too much pressure or used a poor angle. Follow with an alcohol-free aftershave balm.
Building Muscle Memory
Good technique takes about two weeks of daily shaving to internalize. Your first few shaves will be slow—15 to 20 minutes isn’t uncommon. That’s fine. Rushing is how you cut yourself. By week three, you’ll be down to 7-8 minutes for a two-pass shave.
I keep a mental checklist every shave: angle right, no pressure, short strokes, skin stretched. After 23 years, it’s automatic, but I still occasionally catch myself pressing down when I’m distracted. The fundamentals never change.
Frequently Asked Questions
How much pressure should I use with a safety razor?
None. Seriously—the weight of the razor is all the pressure you need. If you’re actively pushing the razor against your skin, you’re doing it wrong. Hold the razor with just your thumb and two fingers to prevent yourself from applying pressure. The razor should glide across your skin, not plow through it.
Why do I keep getting nicks on my neck?
Neck technique is different because the skin is more mobile and hair grows in multiple directions. The fix: stretch the skin taut with your free hand, map your grain pattern carefully (it’s rarely straight down), and shorten your strokes even more than on your face. Most neck nicks come from shaving against the grain before you’ve mastered with-the-grain and across-the-grain passes.
Should I rinse the razor after every stroke?
Yes. Rinse under running water after every 1-2 strokes to clear lather and stubble from between the blade and safety bar. A clogged razor can’t cut effectively, and you’ll compensate by applying pressure—which leads to irritation. I keep the tap running throughout my shave for this reason.
How long does it take to master safety razor technique?
Two weeks of daily shaving to get comfortable, four to six weeks to develop solid technique, three months to achieve consistently great shaves. That might sound long, but compare it to a lifetime of overpaying for cartridges and getting mediocre results. The learning curve is front-loaded, but the payoff is permanent.
Can I use a safety razor on my head?
Yes, but the technique requires modification. You can’t see what you’re doing, so you rely entirely on feel to maintain the proper angle. Start with with-grain passes only until you’ve built confidence. Use your free hand to feel ahead of the razor and stretch skin. A double-sided mirror helps with the back of your head. Go slow—there’s no prize for speed.