

The quick take
Verdict, audience & limits
How Do You Fix Hard-water Shaving Lather?
I started wet shaving with my grandfather’s razor, and it gave me a habit: look after what you have before […]
Who this is for
Readers deciding whether this shaving topic, method, or product category fits their routine and preferences.
What this cannot promise
A universal result, irritation-free shave, medical outcome, or firsthand product test unless that specific use is explicitly documented.
Specifications & source boundary
Model dimensions, materials, blade compatibility, and loading instructions should be checked against the maker’s documentation for the exact product and version. Manufacturer specifications are not independent measurements, and a photograph is not evidence of a product test.
How to read the evidence
Applies only where a specific razor, blade, or product and its conditions are explicitly identified.
Maker-supplied details should be checked against the exact model, market, and version.
A cautiously summarized pattern across identified sources, with disagreement acknowledged.
Background or explanatory framing, not a testing credential or objective measurement.
A subjective choice about feel, cost, convenience, or ritual—not a universal recommendation.
Technique variables
Change one thing. Pay attention.
Lather & preparation
Soften the beard with water, build a comfortably slick lather, and reapply before another pass.
Angle & pressure
Use light pressure and a shallow, familiar angle appropriate to the razor. Do not press harder to compensate for tugging.
Direction & passes
Begin with the grain, use fewer deliberate passes, and let comfort matter more than chasing perfect closeness.
Blade handling
Follow loading instructions, hold only unsharpened sides, and keep cutting edges away from fingers.
Use light pressure, fewer deliberate passes, and stop for pain or persistent irritation. Keep unused blades dry, secure, and away from children and pets. Place used blades in a closed puncture-resistant container and follow local disposal guidance. This is general grooming guidance, not medical advice.
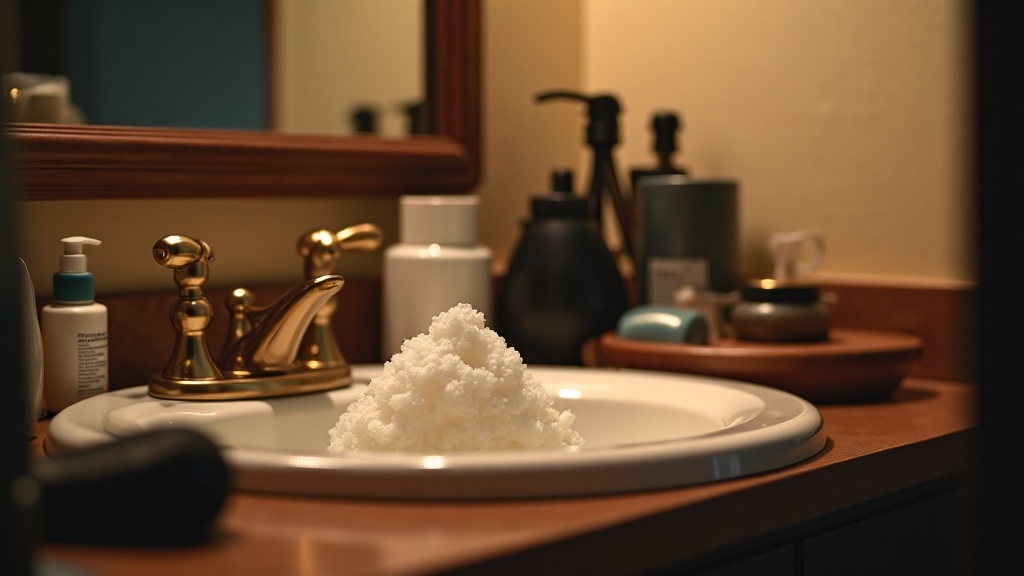
I started wet shaving with my grandfather’s razor, and it gave me a habit: look after what you have before buying a replacement. After 23 years at the sink, my answer to ?How do you fix hard-water shaving lather?? starts with the water. Try distilled water, load enough soap, and add water gradually until the lather becomes glossy and slick. That simple test can save you from abandoning a good puck or replacing a perfectly serviceable brush.
Hard water can leave you chasing foam while residue collects around the razor’s guard. The temptation is to scrub harder, buy pricier soap, or pour vinegar into everything. There are two jobs here: making useful lather and removing deposits without damaging your tools. Neither calls for brute force.
Some links below are affiliate links. As an Amazon Associate, I earn from qualifying purchases.
1. Check whether the water is actually responsible
Hard water contains dissolved calcium and magnesium. These minerals react with soap to form insoluble soap scum, leaving less soap available to do its intended job. The U.S. Geological Survey explains this reaction between hard water and soap. At the shaving bowl, the result can be extra loading, disappointing foam, and a film that resists rinsing.
Those symptoms are clues, not proof. Too little soap can make airy lather in excellent water. Too little water can make a dense paste that drags. A brush full of underhydrated soap may look wonderfully creamy while delivering a poor shave. Judge what the lather does on your face as well as how it looks.
Make two practice batches
Use the same soap, brush, bowl, and approximate working time. Make the first batch with tap water. Rinse the equipment thoroughly, then make the second using distilled water for brush wetting and every water addition. Start with similarly damp bristles and comparable soap loads; a measured amount of cream makes the quantity easier to repeat.
Compare how readily the batches develop, how they spread, and whether a painted patch stays moist for a minute or two. A noticeably better distilled-water batch makes hardness a likely contributor. If both fail similarly, work on loading and hydration before blaming the plumbing.
My first judgment call is to buy a small bottle of distilled water before another soap. It answers a more useful question than a price label does. Your supplier’s water report or water hardness test strips can add context. A total dissolved solids meter does not specifically measure hardness.
2. Build the next batch in a controlled way
Pour a small cup of room-temperature or comfortably warm distilled water into a clean container. Reserve it for wetting the brush and building lather. There is no need to fill the sink. For a cleaner comparison on your face, use it for the final face wetting too.
- Start with a damp brush. Wet the knot according to its care instructions, then let excess water drain. It should not stream water onto the puck. A synthetic brush generally needs wetting rather than a prolonged soak.
- Load until you see soap paste. On a hard puck, try roughly 30?60 seconds as an initial experiment, then adjust. Brush size and soap hardness make a universal time impossible. Flex the bristles gently instead of crushing the knot.
- Work the soap briefly. Move to the bowl or face. A thick, slightly sticky mixture is a reasonable starting point.
- Add water gradually. Dip the brush tips or add a few drops, working each addition through before adding more. Larger additions may become appropriate as the mixture expands.
- Look for useful lather. Aim for a moist sheen, small bubbles, and easy spreading. It should make a continuous layer without behaving like dry frosting or running dishwater.
- Refresh before another pass. Wet the face again and adjust the remaining lather. Do not keep shaving an area that has dried or lost its protective layer.
If the bowl becomes thin froth, add soap or restart with less initial water. If the mixture stays sticky, add water patiently. Whipping a dry paste longer does not hydrate it. My preference is a less showy lather that spreads easily and stays wet. If the razor drags, stop and adjust; extra pressure is a poor substitute for useful lubrication.
3. Match the symptom to the adjustment
Change one thing per practice batch. A new brush, double the soap, and different water might improve matters without telling you which change helped. Use this table to choose a specific next step.
| What you notice | Possible explanation | Next adjustment |
|---|---|---|
| Large bubbles and quick collapse | Too little soap relative to water; hardness may contribute | Try a fuller load and less initial water, then compare with distilled water |
| Dense lather that feels sticky | Insufficient hydration | Work in small water additions until it spreads easily |
| Good bowl lather dries on the face | Underhydration, evaporation, or a slow pass | Wet the face again, hydrate the lather, and work smaller areas |
| Distilled batch clearly beats tap water | Water chemistry likely contributes | Use distilled water for lathering |
| White film on brush and razor | Soap residue, mineral deposits, or both | Improve rinsing and follow material-specific cleaning instructions |
| Drag despite moist, stable lather | Blade condition, angle, or pressure may be involved | Check the razor setup rather than adding soap indefinitely |
A white deposit cannot tell you its precise composition or whether a vintage razor’s plating is sound underneath. Keep that distinction in mind before treating every mark with a descaler.
4. Choose a practical water fix
Distilled water is a straightforward starting point because it avoids the hardness minerals involved here. Buy a small container locally and see how long it lasts when reserved for lather. Keep it capped, and pour out a fresh portion instead of repeatedly dipping a used brush into the storage container.
Ordinary bottled drinking water is less predictable. Spring and mineral waters may contain substantial calcium and magnesium. Read the label rather than assuming bottled means soft. A typical carbon filter pitcher may improve taste without meaningfully reducing hardness unless it specifically includes hardness-reduction treatment.
A functioning ion-exchange softener reduces hardness, and reverse-osmosis treatment can substantially reduce dissolved minerals. Those are household decisions. I would not install a whole-house system solely to rescue a shaving puck when a small cup of distilled water solves the immediate problem.
Boiling is not a dependable substitute. It can reduce some temporary hardness but does not remove every type. Hotter water also does not automatically make better lather. Comfortable warmth is enough and avoids unnecessary heat exposure for brush handles and glued knots.
5. Consider soap and brush changes after testing
Shaving soaps differ in formulation, so they do not behave identically in the same water. Some include ingredients that bind metal ions, such as EDTA or citrate. Their presence is a formulation clue, not a guarantee of good performance in your bathroom. Neither ?tallow? nor ?vegan? reliably predicts hard-water performance by itself.
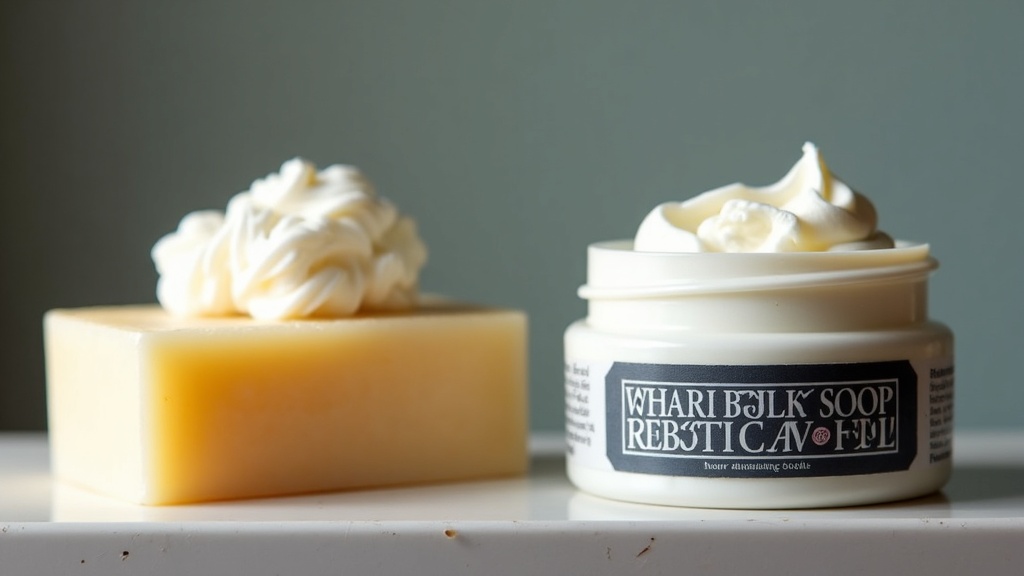
A cream is worth trying if loading a hard puck proves inconsistent. You can put a repeatable quantity into the bowl and concentrate on hydration. Buy a sample or small tube first. Price, elaborate packaging, and fragrance tell you little about how the lather will behave with your water.
A synthetic shaving brush is a practical everyday option because it is straightforward to wet, rinse, and dry. It does not soften water. Keep your existing brush if it works; a different knot will not remove calcium from the tap.
Avoid adding kitchen acids, baking soda, or other improvised chemicals to the lather. That changes a finished formulation without controlling its final balance. Different water is easier to repeat and introduces fewer variables against your skin.
6. Clean residue without sacrificing the finish
My workshop rule is simple: do not trade original plating for a quick shine. A vintage razor can carry decades of useful service in a thin finish. Abrasive polish, stiff brushes, and casual acid baths can turn a removable film into permanent damage, especially where the plating is worn and underlying metal is exposed.
Remove the blade before cleaning a safety razor and take apart only components intended for routine removal. Rinse away fresh lather with warm water. Gently lift softened residue with a wet extra-soft toothbrush where the finish is sound. Avoid scrubbing flaking areas or forcing stiff mechanisms. Rinse, blot with a soft cloth, and allow the parts to dry before storage.
For stubborn deposits, identify the materials and consult the maker’s instructions before choosing a cleaner. Chrome plating, old gold finishes, aluminum, and bare carbon steel should not receive identical treatment. M?HLE’s safety razor care manual, for example, prohibits acid and vinegar. A household descaling recipe is not universal razor-care advice.
A straight razor needs separate care: avoid soaking its scales and pivot, and dry the blade carefully without drawing a cloth across the edge. Hard-water residue does not justify immersing a valuable old razor in a bath. Clean accessible surfaces gently rather than flooding areas you cannot dry.
Cleaning and disinfection are separate jobs
Removing white film does not establish that a secondhand razor is disinfected. Equally, disinfectant does not replace removing visible soil. For used equipment, clean first, then select a disinfection method compatible with the materials and follow the product label’s concentration and contact time. Replace any inherited blade. If compatibility is uncertain, seek restoration advice before exposing delicate handles or finishes to chemicals.
A quick alcohol splash, boiling, or an overnight bleach soak is not a universal solution. The sanitation benefit depends on a suitable process, while damage can be irreversible. Routine care of your own razor also differs from preparing an unknown secondhand tool for first use.
7. Keep the brush from accumulating residue
After shaving, rinse through the knot until residual lather is gone, gently squeeze out excess water, and leave the brush somewhere ventilated. A closed cupboard or travel tube is a poor home for a damp knot. Avoid twisting the bundle, tugging hairs, or grinding it against a towel.
If the brush develops a chalky base or loses flexibility, check its maker’s cleaning guidance. Use only a cleaner suitable for the fibers, adhesive, and handle. M?HLE’s shaving-tool care guidance cautions against vinegar and several household cleaning chemicals. A popular soaking recipe should not automatically become your routine.
Regular rinsing is easier than removing months of buildup. It also makes your next lather experiment more meaningful: you are comparing soap and water rather than old residue trapped in the brush.
8. Questions from the shaving sink
Can I fix hard-water lather just by using more soap?
Often, a larger load helps, especially when underloading contributes to the problem. It also increases consumption and may leave more residue. If you keep needing excessive soap, compare with distilled water before accepting that as normal.
Do I need distilled water for rinsing between strokes?
Start by using it only for lather. Tap water remains convenient for rinsing the razor; shake off excess water before returning to your face. If results remain inconsistent, try distilled rinse water for one shave as a separate experiment.
Will vinegar soften my shaving water?
Adding vinegar is not a controlled way to remove calcium and magnesium, and acid can interfere with soap. It also creates equipment compatibility concerns. Use distilled water instead of improvising a vinegar dose in the bowl.
What should I try tomorrow morning?
Use your familiar soap, a clean damp brush, and a small cup of distilled water. Load generously, hydrate gradually, and pause if the lather drags or dries. Once that works, change one variable at a time. A dependable shave comes from a repeatable method and tools kept in good condition.
Tradeoffs, uncertainty & affiliate disclosure
A closer shave can require more passes and may reduce comfort. Product feel varies with razor, blade, lather, angle, pressure, beard growth, and personal preference. ClassicBlade does not imply that every mentioned item was purchased, used, measured, or independently tested.
Some links may be affiliate links. ClassicBlade may earn a commission at no added cost to you; commercial links do not stand in for evidence.

Leave a Comment