Complete Wet Shaving Routine for Beginners: A Step-by-Step Workflow
Complete Wet Shaving Routine for Beginners: A Step-by-Step Workflow
A proper wet shaving routine takes 10-15 minutes and follows a specific sequence: prep, lather, shave (with the grain, then across), rinse, and aftercare. I’ve been wet shaving for 22 years, and the biggest mistake beginners make is rushing through prep or skipping the second pass entirely—both guaranteed to leave you with razor burn.
My grandfather handed me his 1959 Gillette Fatboy when I was 19, along with a single piece of advice: “Respect the blade, and it’ll respect your face.” That principle still guides every shave. Let me walk you through the exact routine that’s served me through 300+ razors and thousands of shaves.
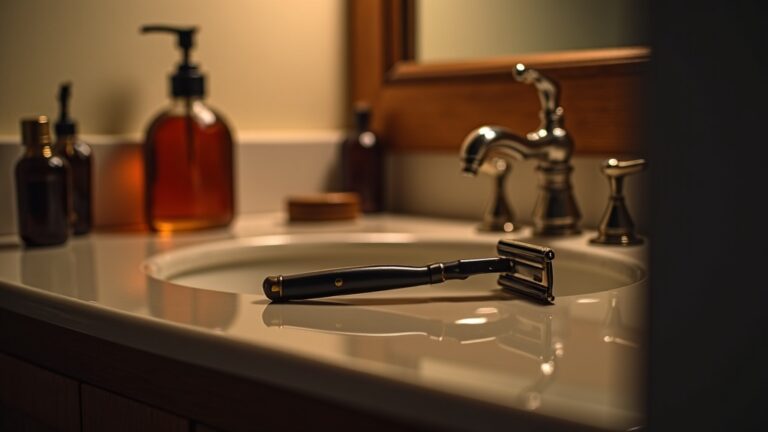
The Complete Pre-Shave Setup
Before you touch a razor, you need three things ready: softened facial hair, hydrated skin, and proper tools within reach. I shave right after a hot shower, which opens pores and softens whiskers. If you’re shaving at another time, hold a hot, damp towel against your face for 2-3 minutes.
Lay out your gear in order of use: shaving brush, shaving soap or cream, your safety razor with a fresh blade, and a clean towel. Having everything within arm’s reach prevents awkward mid-shave scrambling.
Water Temperature Matters More Than You Think
Hot water—not scalding, but genuinely hot—is non-negotiable. It softens the keratin protein in your whiskers, making them 30-40% easier to cut. Cold water shaving is a masochistic trend that ignores basic biology. Your face isn’t a Navy SEAL training exercise.
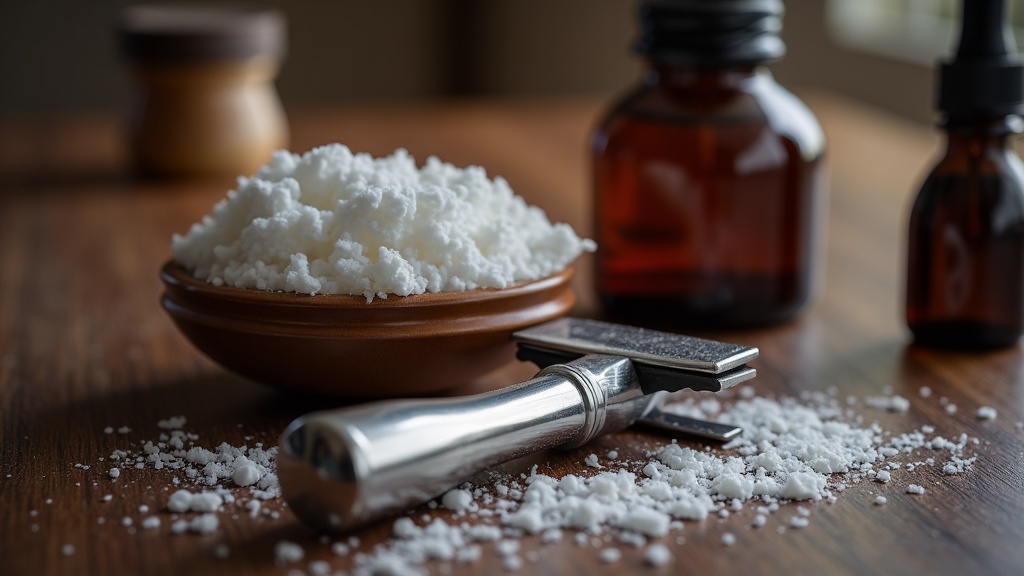
Building the Perfect Lather (The Foundation of Every Great Shave)
Proper lather creates a protective cushion between blade and skin while providing lubrication for the razor to glide. Here’s the step-by-step:
- Soak your brush in hot water for 30-60 seconds while you prep your face
- Shake out excess water—the brush should be damp, not dripping
- Load the brush by swirling it on your soap for 20-30 seconds with firm pressure
- Build lather in a bowl or directly on your face, adding drops of water gradually
- Test consistency—you want yogurt-thick lather with soft peaks, not runny or too dry
The most common mistake? Not loading enough soap onto the brush. Don’t be stingy. A good shaving soap puck lasts 3-4 months even with generous loading.
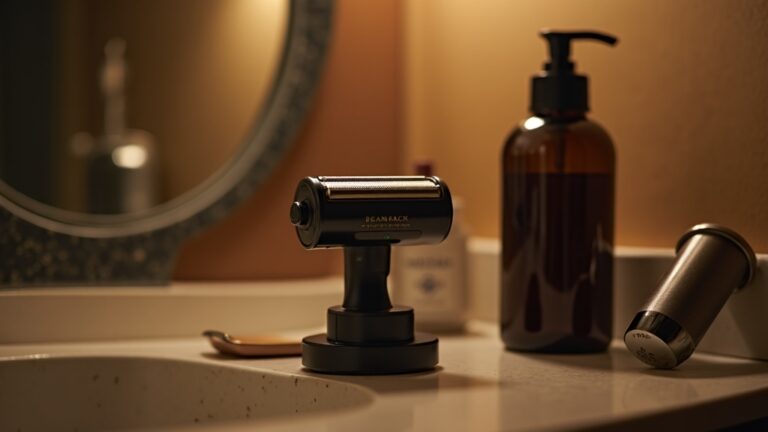
Brush Type Makes a Real Difference
Synthetic brushes are easiest for beginners—they break in immediately and dry quickly. Badger hair holds more water and creates richer lather, but requires a break-in period. Boar bristle is budget-friendly but needs the most break-in time. Start synthetic, upgrade later if you want.
The Three-Pass Shaving Technique
This is where most online guides get vague. Here’s the actual workflow I follow every single morning:
Pass 1: With the Grain (WTG)
Map your grain pattern first—run your hand across your face when you have stubble. The direction that feels smooth is with the grain. For most men, that’s downward on cheeks, downward or sideways on the neck.
Hold the razor at a 30-degree angle to your skin. Use zero pressure—the weight of the razor head does the work. Shave in short, overlapping strokes. Rinse the blade every 2-3 strokes.
After the first pass, you should have minimal visible stubble but still feel texture when you touch your face. That’s correct. Don’t expect baby-smooth skin yet.
Pass 2: Across the Grain (XTG)
Re-lather completely. Never do a second pass on bare skin—that’s how you get razor burn. Now shave perpendicular to your grain pattern. On cheeks, this usually means ear-to-nose direction.
This pass removes 80% of remaining stubble. Your face should feel smooth in most directions now, with slight texture against the grain. For many beginners, stopping here is perfectly acceptable.
Pass 3: Against the Grain (ATG) – Optional for Beginners
Only attempt this after you’ve mastered the first two passes for at least 2-3 weeks. Against the grain provides that mirror-smooth finish but increases irritation risk significantly. Re-lather again, then shave in the opposite direction of growth.
Skip this pass entirely on your neck until your technique is solid. The neck is where most irritation happens.
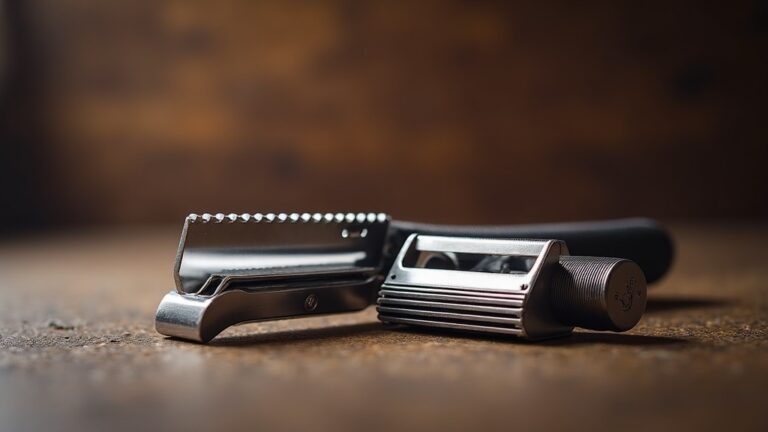
Wet Shaving vs. Cartridge: The Honest Comparison
| Factor | Wet Shaving (Safety Razor) | Cartridge Razor |
|---|---|---|
| Initial Cost | $30-80 for razor, brush, soap | $10-25 for handle + cartridges |
| Per-Shave Cost | $0.10-0.25 (blade + soap) | $2-4 per cartridge |
| Learning Curve | 2-4 weeks to get comfortable | Immediate |
| Shave Quality | Closer, smoother (with practice) | Adequate, consistent |
| Time Required | 10-15 minutes | 3-5 minutes |
| Irritation Risk | Lower (with proper technique) | Higher (multiple blades tug) |
Post-Shave: Don’t Skip the Recovery Phase
After your final pass, rinse your face thoroughly with warm water, then follow with a cold water rinse. The cold water closes pores and constricts blood vessels, reducing redness.
Pat dry—never rub. Your skin is slightly abraded after shaving, and rubbing causes micro-irritation.
Apply an alcohol-free aftershave balm or witch hazel. Alcohol-based splashes feel traditional but dry out your skin unnecessarily. I use an unscented balm daily—fragrance is for cologne, not aftershave.
Blade Care Extends Blade Life
Rinse your razor thoroughly under hot water, shake out excess moisture, and store it blade-down in a dry location. Don’t leave it sitting in water or on a wet bathroom counter. Moisture causes microscopic corrosion that dulls the edge faster.
Most quality safety razor blades give 4-7 comfortable shaves. When you feel tugging or need extra pressure, it’s time to swap the blade. Never push a dull blade—that’s how you get ingrown hairs.
Common Beginner Mistakes (I Made All of These)
Using pressure: The razor’s weight is sufficient. Adding pressure just scrapes off skin cells along with whiskers. I had a week of raw skin before I learned this.
Shaving the same area multiple times: If you missed a spot, re-lather first. Dry-shaving an area “real quick” is asking for irritation.
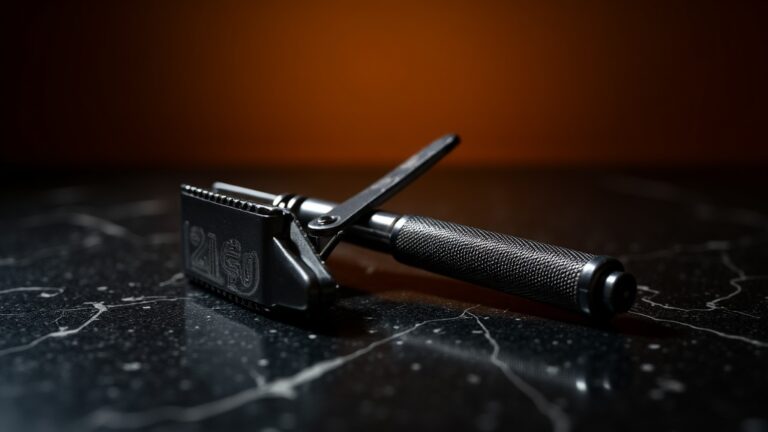
Starting with an aggressive razor: Begin with a mild beginner safety razor. You can upgrade to more aggressive options once your technique is solid.
Expecting immediate perfection: Your first two weeks will be rough. You’ll get a few nicks. Your shaves will take 20+ minutes. That’s normal. By week three, things click into place.
Buying too much gear initially: You need one razor, one brush, one soap, and a blade sampler pack. That’s it. Don’t fall down the acquisition rabbit hole until you’ve mastered the basics.
The Minimal Beginner’s Wet Shaving Kit
If you’re starting from zero, here’s what I recommend:
- Safety razor ($30-40) — a mild, balanced razor like the Edwin Jagger DE89 or Merkur 34C
- Synthetic shaving brush ($12-20) — easy to use, fast-drying
- Quality shaving soap ($10-15) — Proraso or Stirling Soap are excellent starter options
- Blade sampler pack ($12-15) — try 5-7 different brands to find what works for your face
- Alum block ($6-8) — optional but helpful for treating nicks
Total investment: $70-100. Compare that to a year of cartridge refills at $150+, and you see why wet shaving makes economic sense even ignoring the superior shave quality.
Frequently Asked Questions
How often should I wet shave?
Daily or every other day works best. Waiting 3+ days means longer whiskers that are harder to cut cleanly, increasing irritation risk. If you’re getting irritation from daily shaving, your technique needs work—the frequency isn’t the problem.
Can I wet shave if I have sensitive skin?
Absolutely—wet shaving is actually better for sensitive skin than cartridge razors. The single blade of a safety razor cuts hair cleanly without the tugging action of multi-blade cartridges. Focus on a mild razor, excellent prep, and an alcohol-free aftershave routine.
What’s the best safety razor blade for beginners?
There’s no universal “best” blade—facial hair and skin vary too much. Buy a sampler pack and test 5-7 brands, using each for a full week. I prefer Feather blades, but they’re too sharp for many beginners. Astra Superior Platinum or Derby Extra are milder starting points.
Should I shave before or after a shower?
After is ideal—the hot water and steam provide perfect prep. Some men shave in the shower itself, though that makes cleanup messier and blade angle harder to control. At minimum, wash your face with hot water for 2-3 minutes before shaving.
How do I prevent razor burn and ingrown hairs?
Three things: proper grain mapping (never shave against the grain on your first pass), zero pressure on the razor, and complete re-lathering between passes. 90% of razor burn comes from poor technique, not the gear you’re using. Also, replace blades when they start tugging—a dull blade yanks hairs rather than cutting cleanly.